Permission Statements
Permission Statements
Permission Statement API
Permission Statements API is available here.
These statements are used to inform your customers what data you collect, why you're collecting it and if applicable stating the parties the data is shared with. Ideally the statement text will be concise to avoid fatigue and lack of engagement.
Creating in content Template
While the following sections will show how you can create Permission statements separately in a different section in the platform, you can also create new permission statement when you are building your new content template. Any permission statement created there automatically shows up in the following sections.
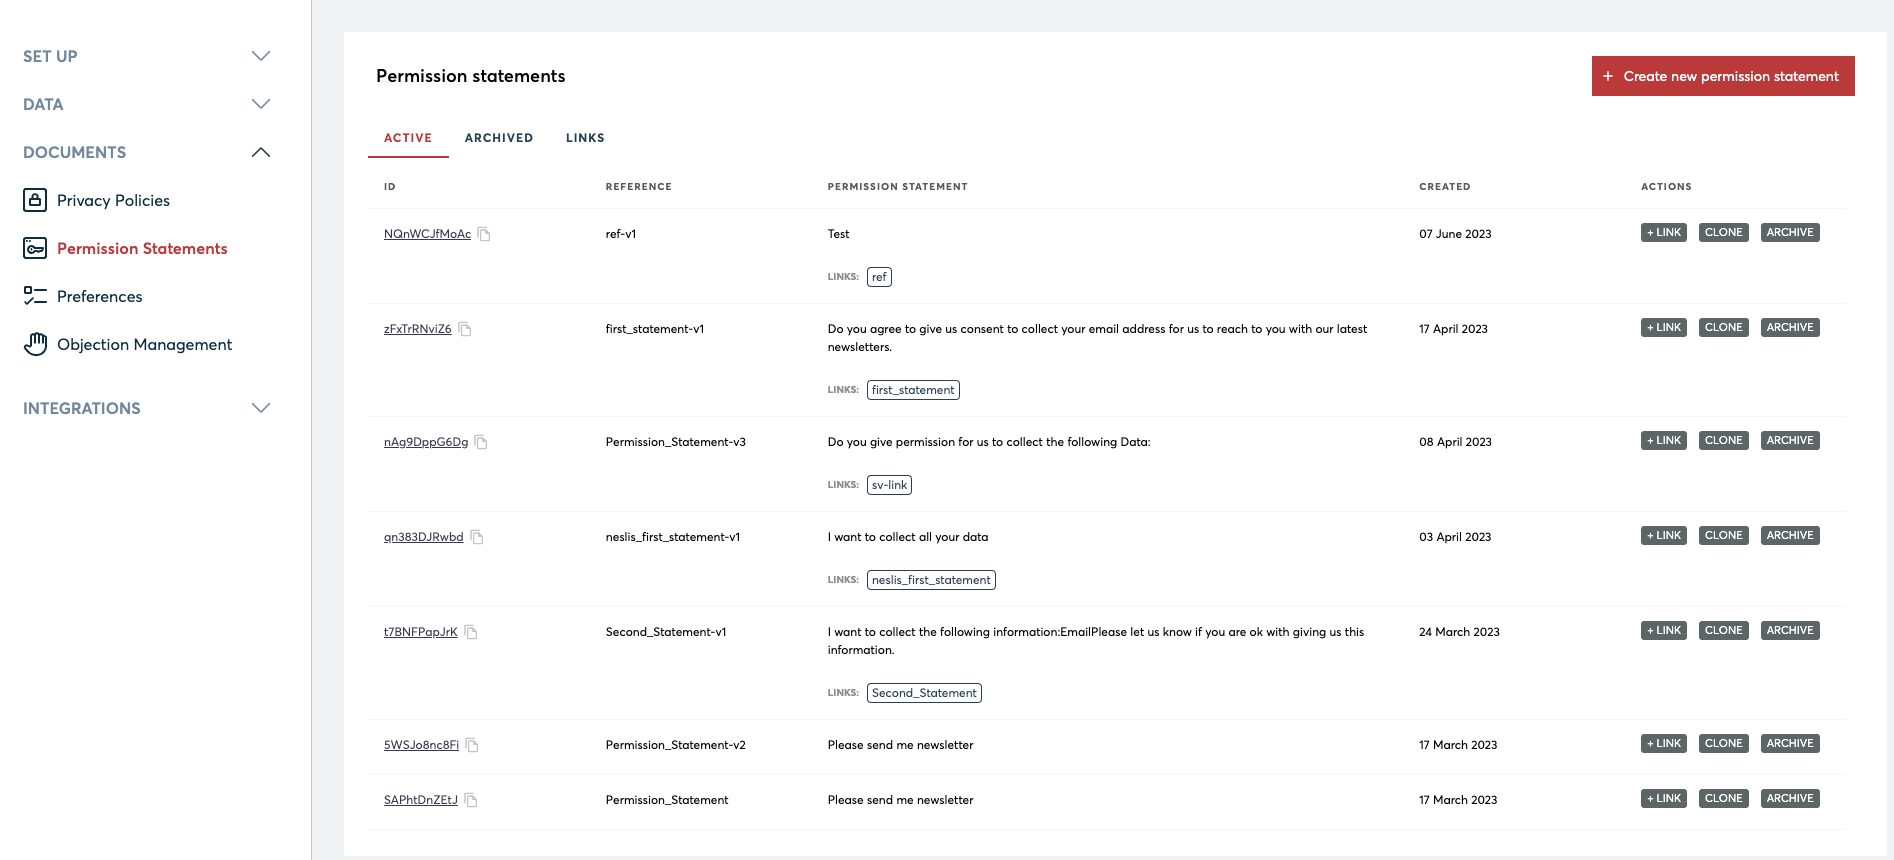
Creating Statements
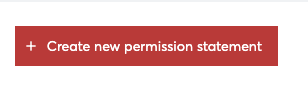
To create a new Permission Statement, navigate to the 'Permission statements' under the Documents header in the platform. Click on ‘+ Create new permission statement’ in the top right of the screen.
Permission Statement Reference
Each Permission Statement requires a unique reference.
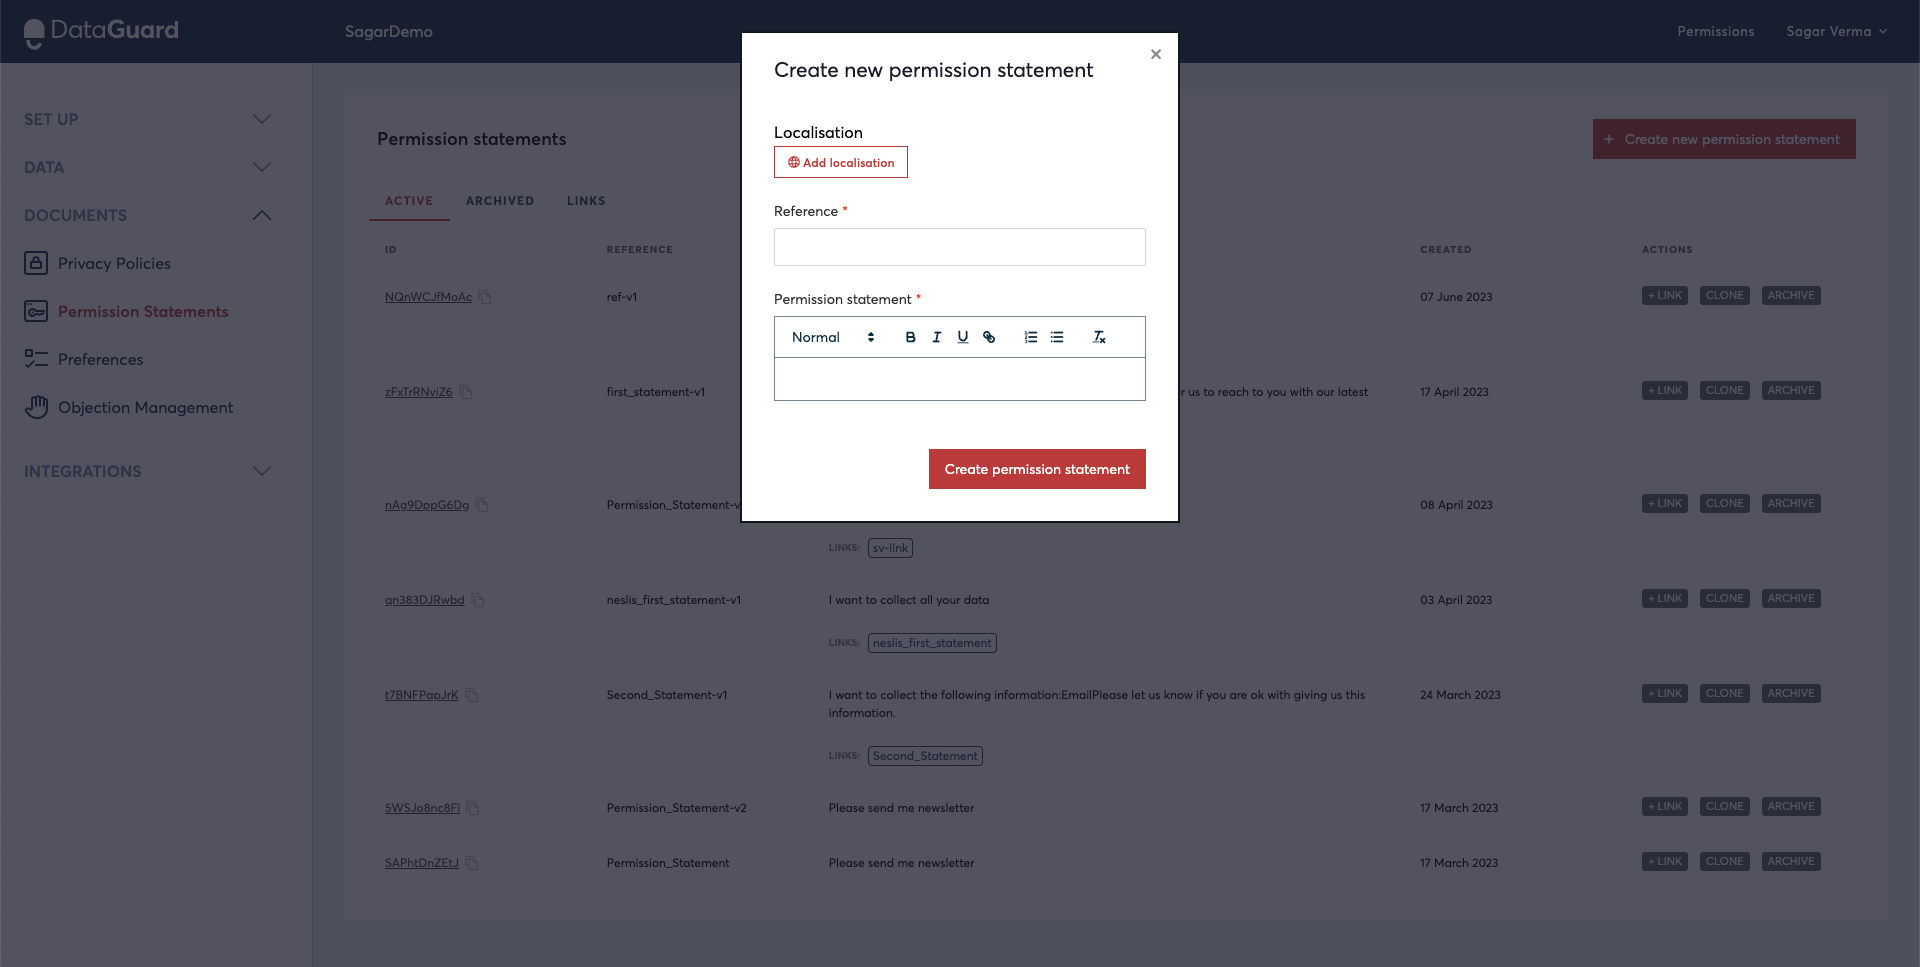
Statement text can be copy-and-pasted directly into the form to prevent transposition errors. Basic formatting can be applied using the controls above the text box.
Warning
The formatting applied here or any changes made to the existing permission statement updates the content templates or the different capture points you might have in place to collect consents and preferences.
Archiving Permission Statements
Archiving a Permission Statement hides it from the wrap up area dropdown in the Data Subjects UI, which is where your operatives can record permission transactions. You can reset the Permission Statement status to restore visibility within the wrap up area.
To Archive a Permission Statement, click on the 'Archive' button next to the relevant Permission Statement. The Permission Statement will then be moved to the ‘Archived’ tab.

To Unarchive a Permission Statement, navigate to the ‘Archived’ tab and click on the 'Unarchive' button. The Permission Statement will returned to the ‘Active’ tab.

Note: Archived Permission Statements can still be used over the DataGuard Permissions API and will still show on all historic transactions.
Permission Statement Links
Permission Statement Links API is available here.
What are Statement Links?
Permission Statement links are a set of static identifiers, each of which can be linked to a single Permission Statement. This allows you to amend which Permission Statement a Content Template uses without needing to amend / recreate the Template itself. If the same Permission Statement Link is used in multiple Templates, you are able to update all by editing a single link to point at a new Permission Statement.
Create Statement Links
To create a new Permission Statement Link, click on the '+Link' button next to any existing Permission Statement.
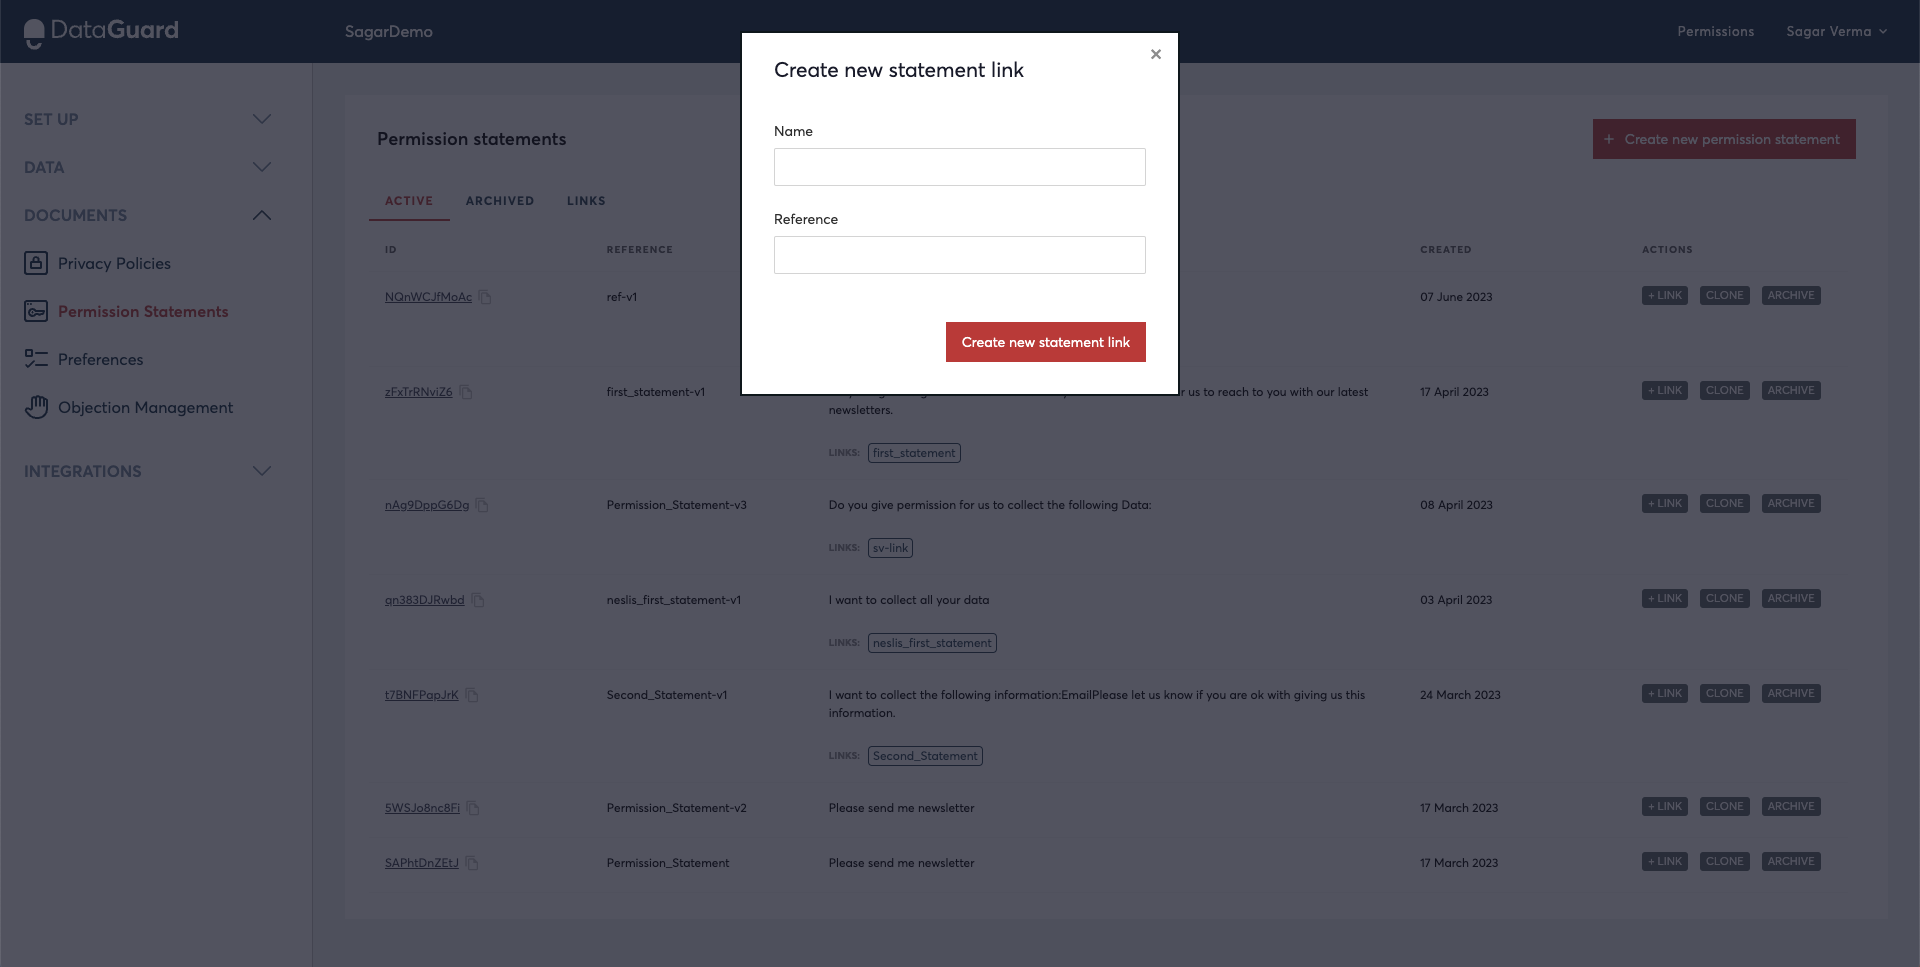
You will need to provide a name and unique reference for the link. It's is recommended that these are kept the same for simplicity, however they can be different if required. To simplify this process, DataGuard will automatically copy down the name into the reference field in kebab-case.
Once you are happy with the name and reference, click 'Create new statement link'.
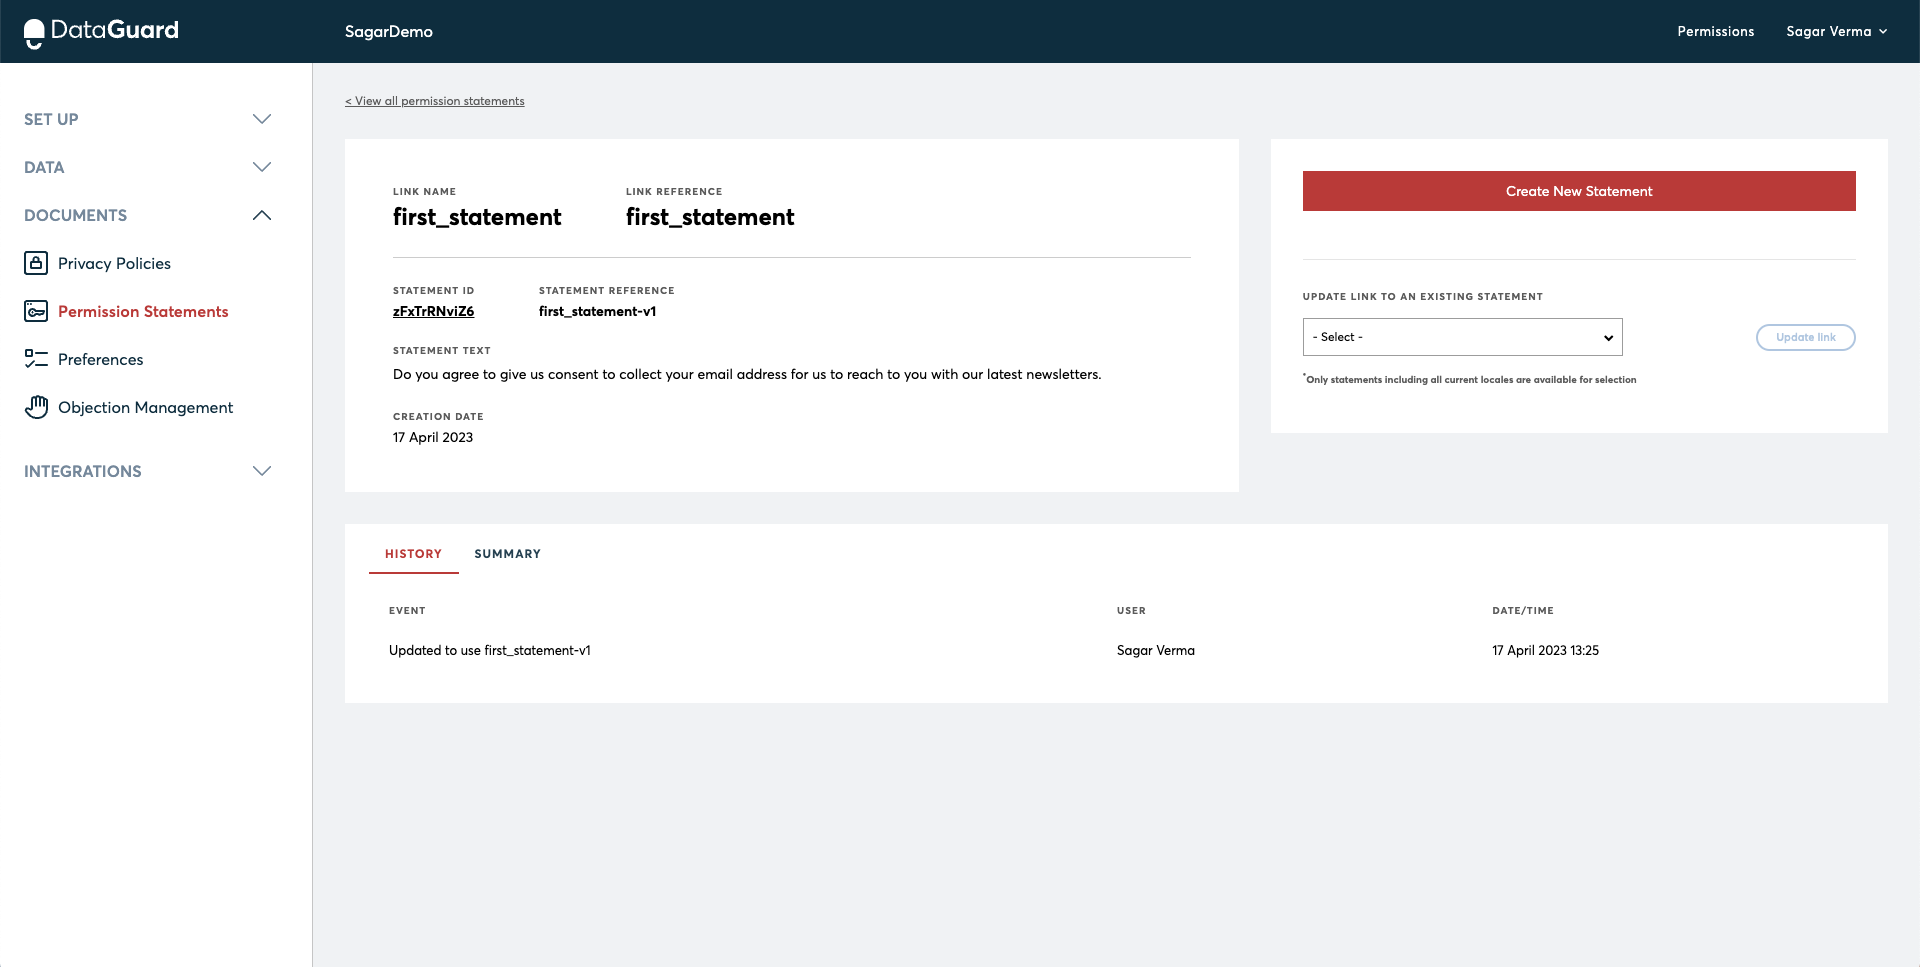
Edit Existing Links
Links can be managed within the 'Links' tab of the Permission Statements screen.

To point an existing Statement Link to a new Permission Statement, click on the link and select the new Permission Statement from the drop down box under 'Update link to an existing statement'. Select the required Statement, and click on the 'Update link' button to confirm the change.
Did you know?
As mentioned above, it is suggested you create your permission statements while create content template if you are using a content template. If you are leveraging DataGuard's API and you need to create a permission statement to get the references and all the metadata associated with this asset, you can navigate to this section and create / edit / archive / unarchive/ link your permission statements.
Updated 11 months ago
You can move on to the following pages to understand how to create and manage preferences in DataGuard