Rule Sets
Create rules to request progressive consents, add mandatory elements or even embed in your CRM
What are rules?
Rules establish the logic to define which elements of the capture template template are rendered, and whether to apply any mandatory response elements to the customer. A rule set generates the ruleId which can be used as a variable in the capture point configuration.
Which rules are available, and what do they do?
Permission Rules
| Rule Name | Description | Syntax |
|---|---|---|
| max | The maximum number of consents to be displayed in a capture point using the rule. This is intended mainly for use in progressive consent capture (to avoid showing long lists & causing consent fatigue). For collection points where all permissions are displayed (e.g. in customer account settings) this value should be set to an arbitrarily large number, or omitted. | {"rule": "max", "param": 2} |
| no-state | Display permissions which currently have no recorded justification / transaction. | {"rule": "no-state" } |
| no-granted | Display consent options which do not have a state of granted (e.g. denied & unknown consent states). | {"rule": "no-granted" } |
| expires-within | Consents which expire within a given time frame. e.g. P1Y2M7D would result in only displaying consents that expire within 1 year, 2 months and 7 days. | {"rule": "expires-within", "param": "P1Y7D"} |
| selectable-channel | Define a list of options to that can be chosen as "channel" values to be sent through to the transaction on submission (to be used with the CRM capture point) | {"rule": "selectable-channel", "param": ["channel1", "channel2"]} |
Preference Rules
| Rule Name | Description | Syntax |
|---|---|---|
| mandatory-preferences-v2 | Enforce a response to the specified preference(s) in order to submit the contact point. The errorMessage value you set will be what is displayed to the end user of a capture point if they attempt to submit without responding, and different messages can be set for each mandatory item. If not specified, the default error message will be shown. | { "rule": "mandatory-preferences-v2", param: {"reference": {"errorMessage": "Bespoke error message."}}} |
| no-choice-selected | Display only preferences which currently have no choices selected. | {"rule": "no-choice-selected" } |
| targeted-choices | Hide specified preferences based on the current state showing specific choice(s) being made. | {"rule": "targeted-choices", "param": [{"reference": "myPreference", "choices": ["choice1"]}]} |
Other Rules
| Rule Name | Description | Syntax |
|---|---|---|
| blocks | Choose which block types from the content template to render to the end user. default is to show ALL block types. | {"rule": "blocks", "param": ["text","preference", "statement-permissions"]} |
How to use the rules UI
Establish the rule priority order required
Rules are applied in the same priority order as the JSON recorded within DataGuard Consent & Preference Management - i.e. an implicit priority. If zero options are returned for a rule it will drop down the list and check the second rule, and so on. The order the rules within the set are shown in the UI is the same as JSON order stored on the API - you can drag and drop rules as required.
maxwill always be applied if contained in the applied rule (if >max are returned, the capture point will adjust what is shown to adhere to the max value).
Create rule set
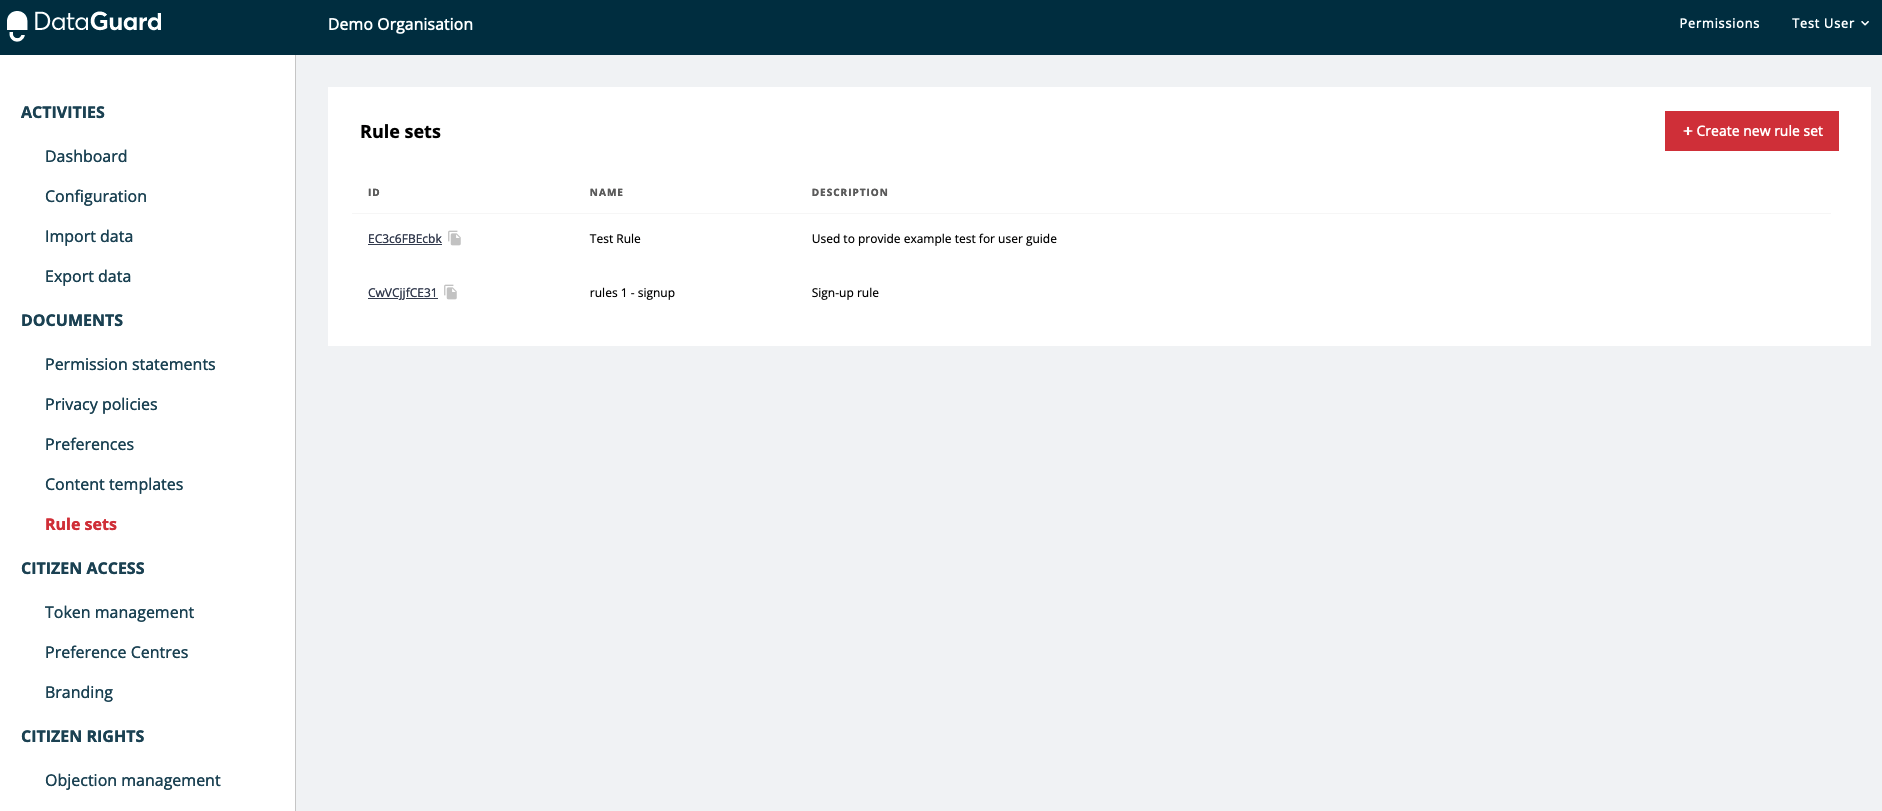
- Navigate to the Rule Sets area of the Admin UI
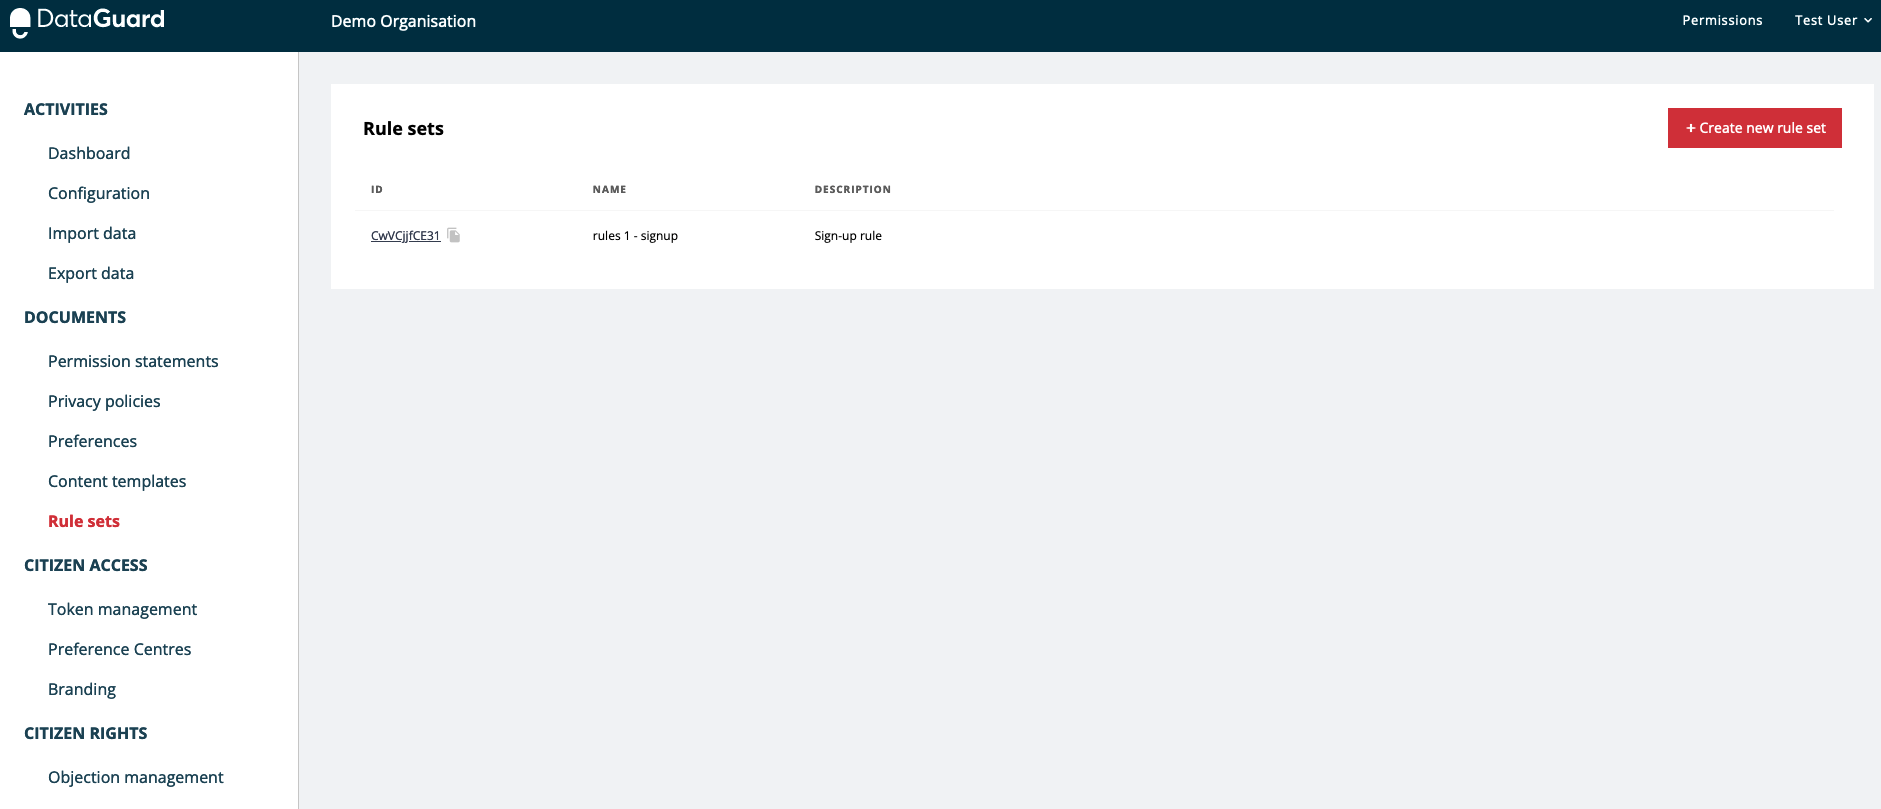
- Click
+ Create new rule setto present the form below
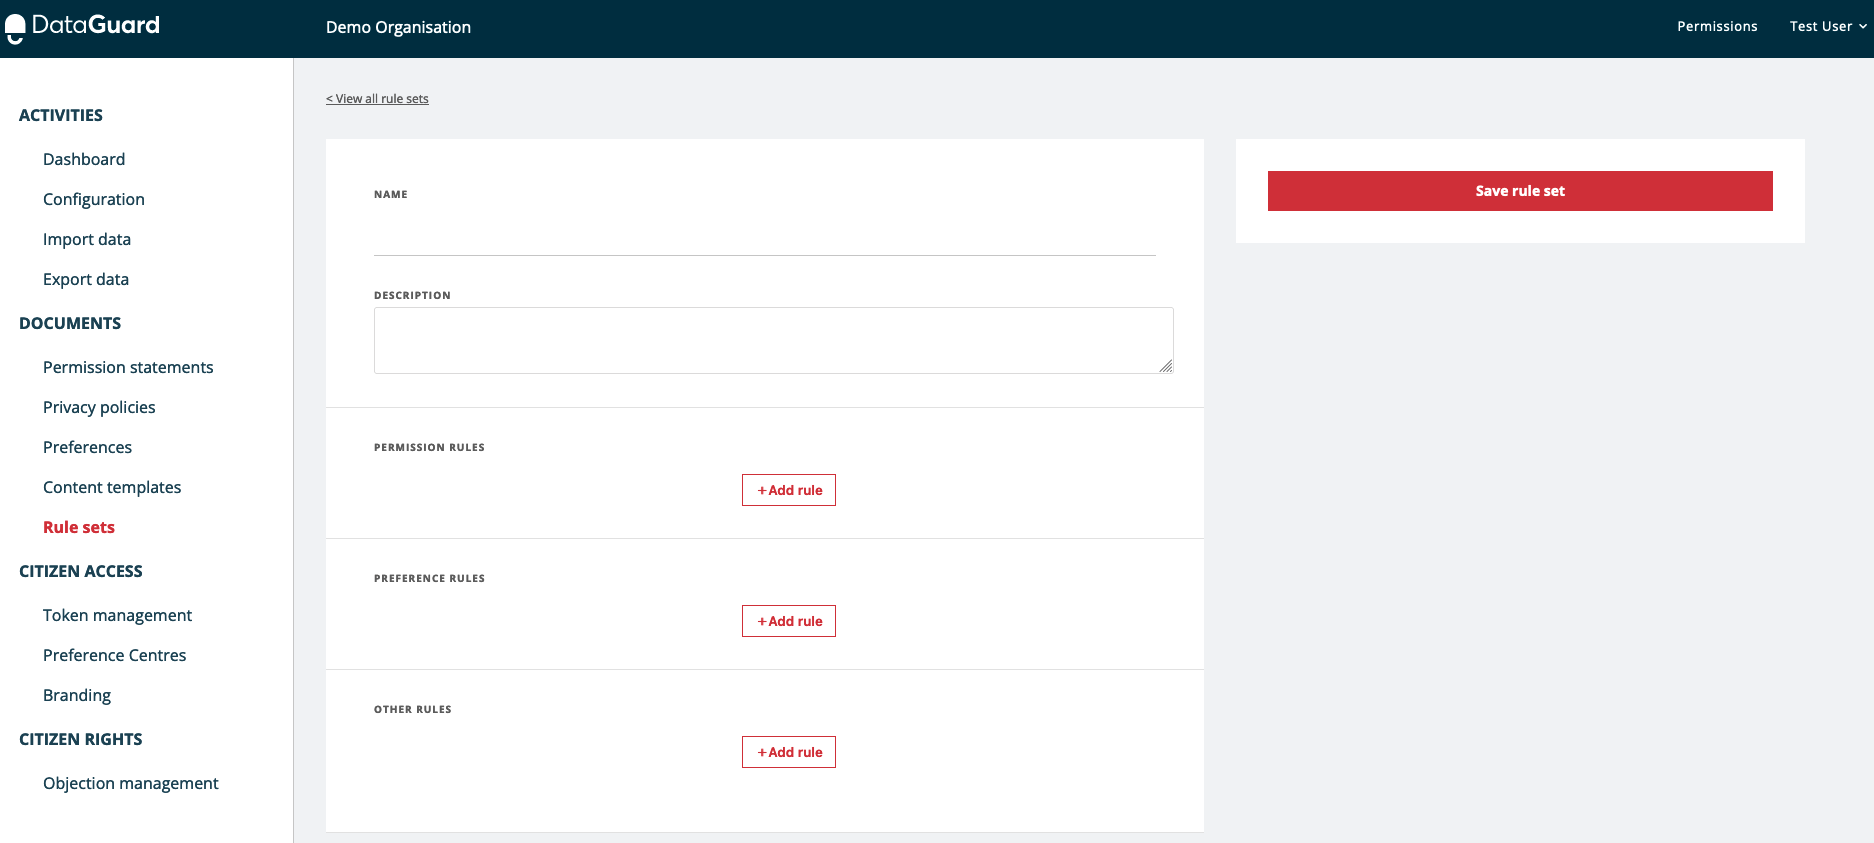
- Assign a name and description to your rule
- Set a
Max. optionsrule (if you intend to use the capture point to show permission options, for preference only capture this step is optional)
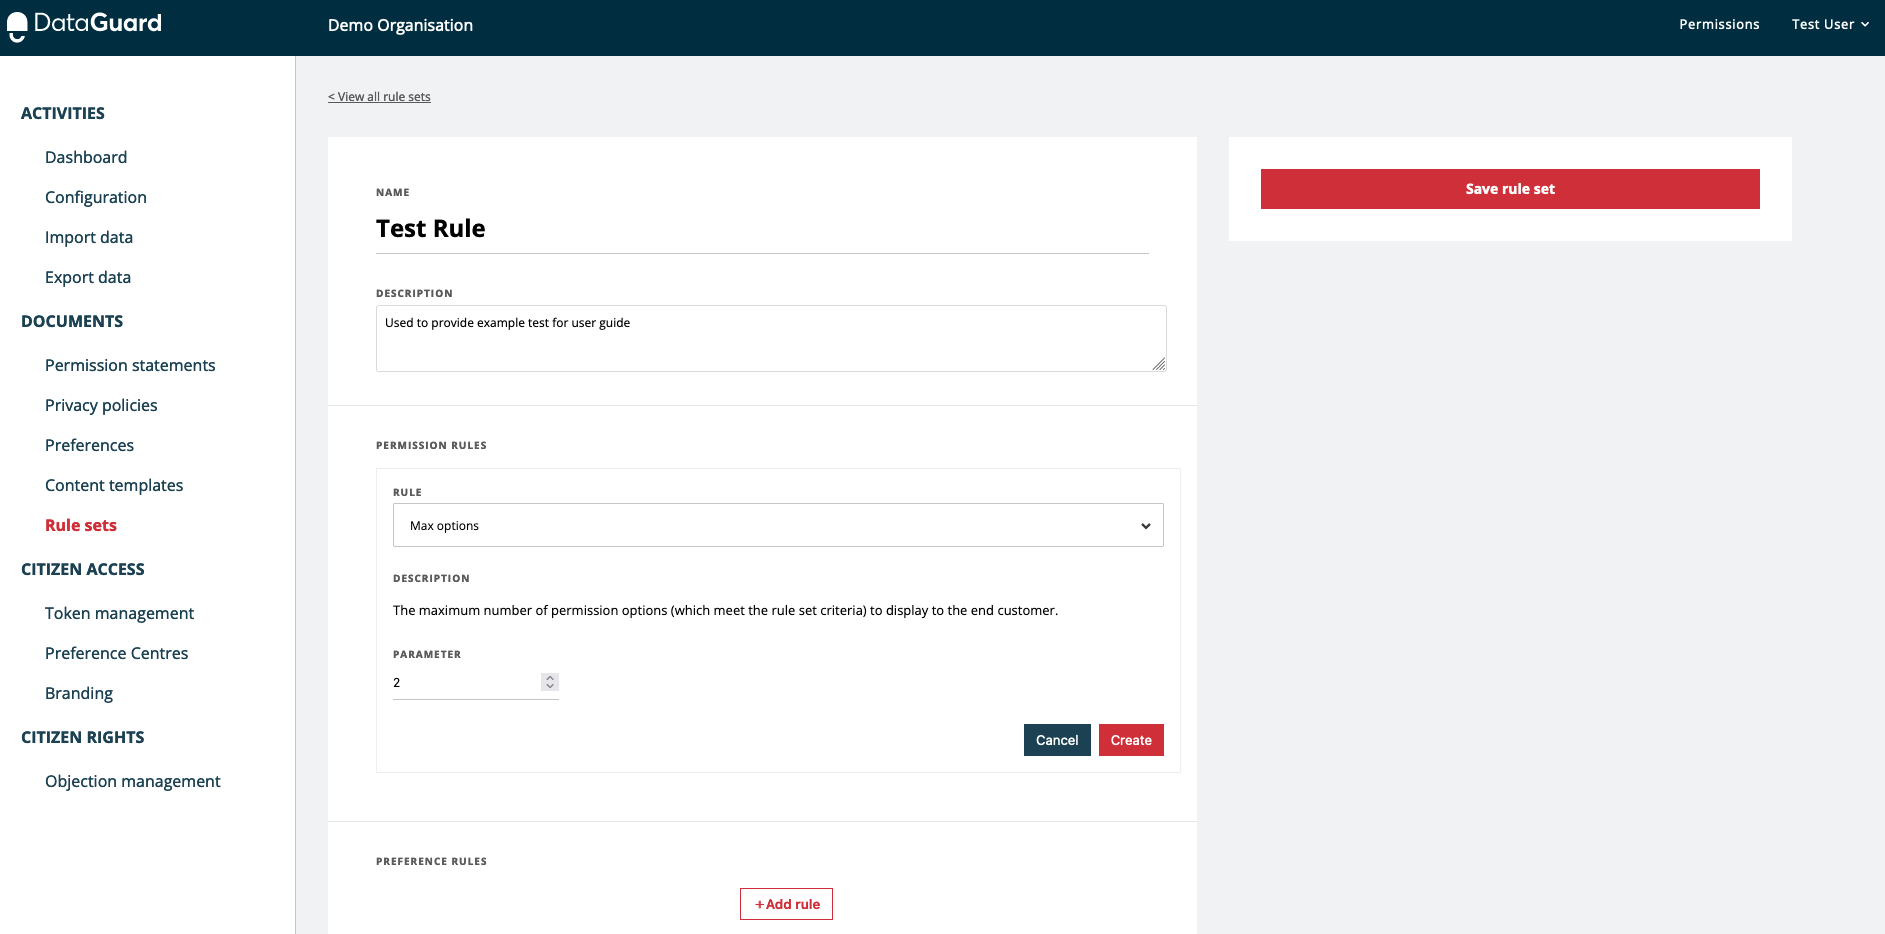
- Set any permission-specific rules you wish to apply by clicking the
+Add rulebutton in the relevant section - Set any preference-specific rules you wish to apply by clicking the
+Add rulebutton in the relevant section (note - multiple mandatory preferences are specified in the same rule) - Ensure the blue
Updatebuttons have been clicked in each section - Drag and drop the rules to be in the correct priority order (normally only needed for progressive consent capture) using the burger icon (3 stacked lines)
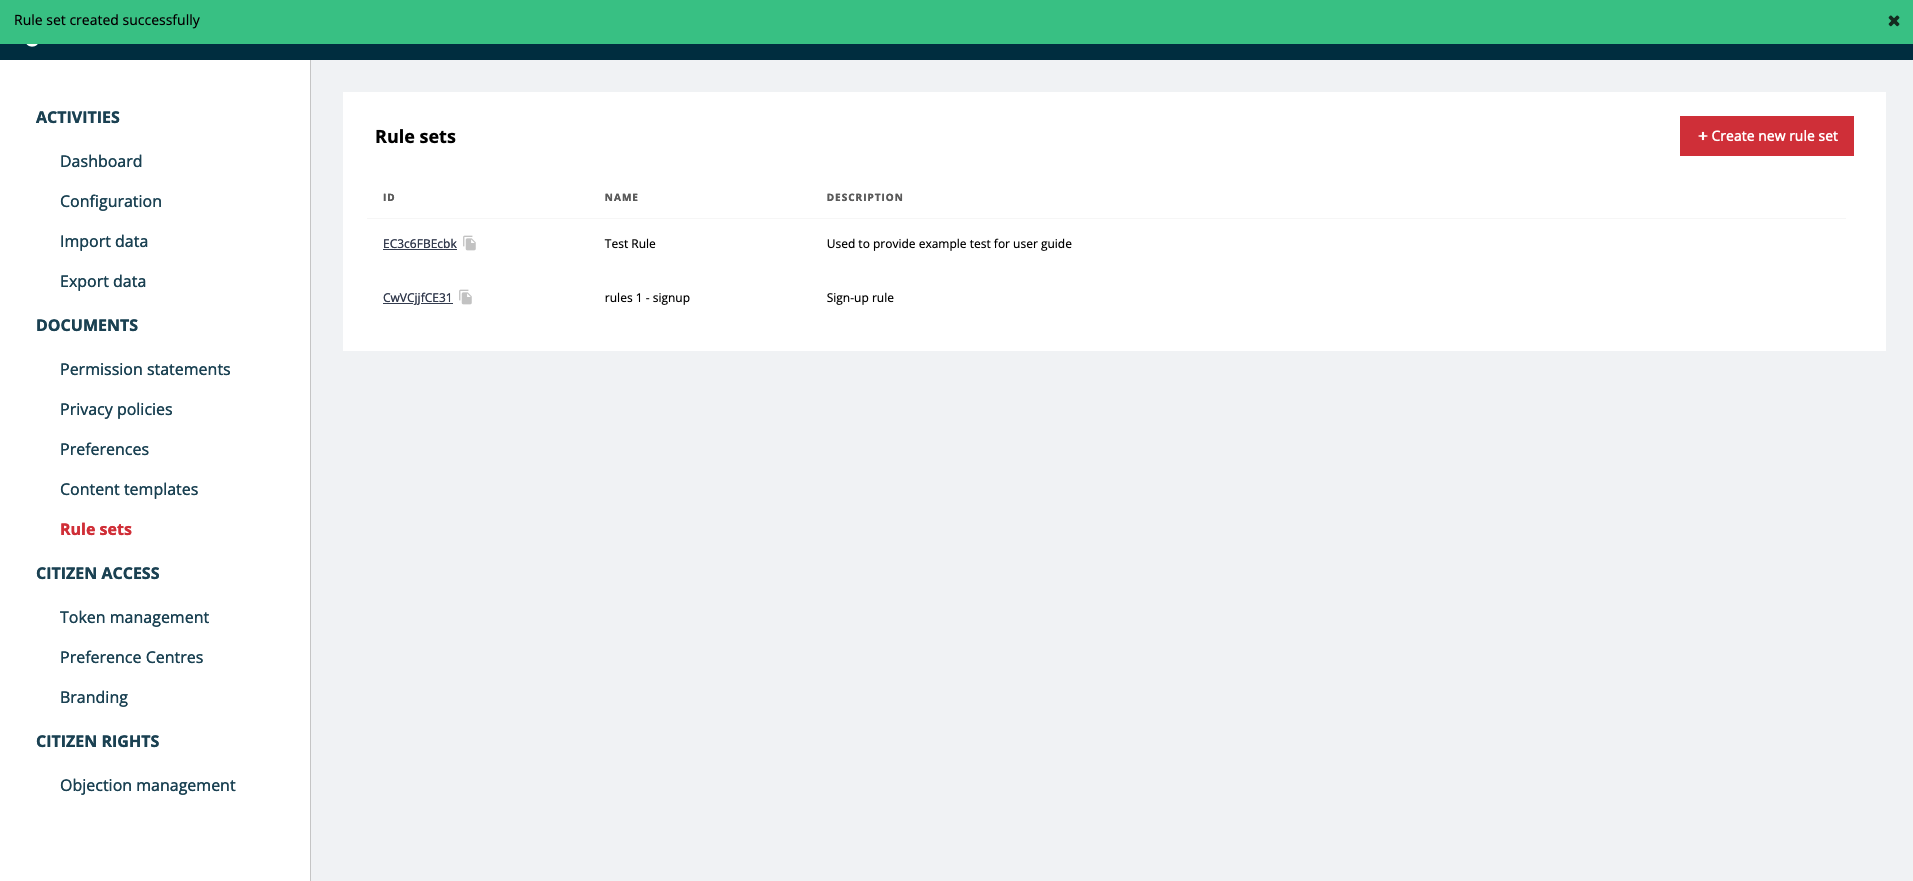
- Click 'Save rule set'
You should be presented with a success message and be returned to the main rule sets UI page.
Edit rule set
- Click on the ID of the appropriate rule set in the UI to drop into the rule and allow editing
- Use the pen icon to edit existing rules, the cross icon to remove rules and the drag and drop function to re-order the rule priorities
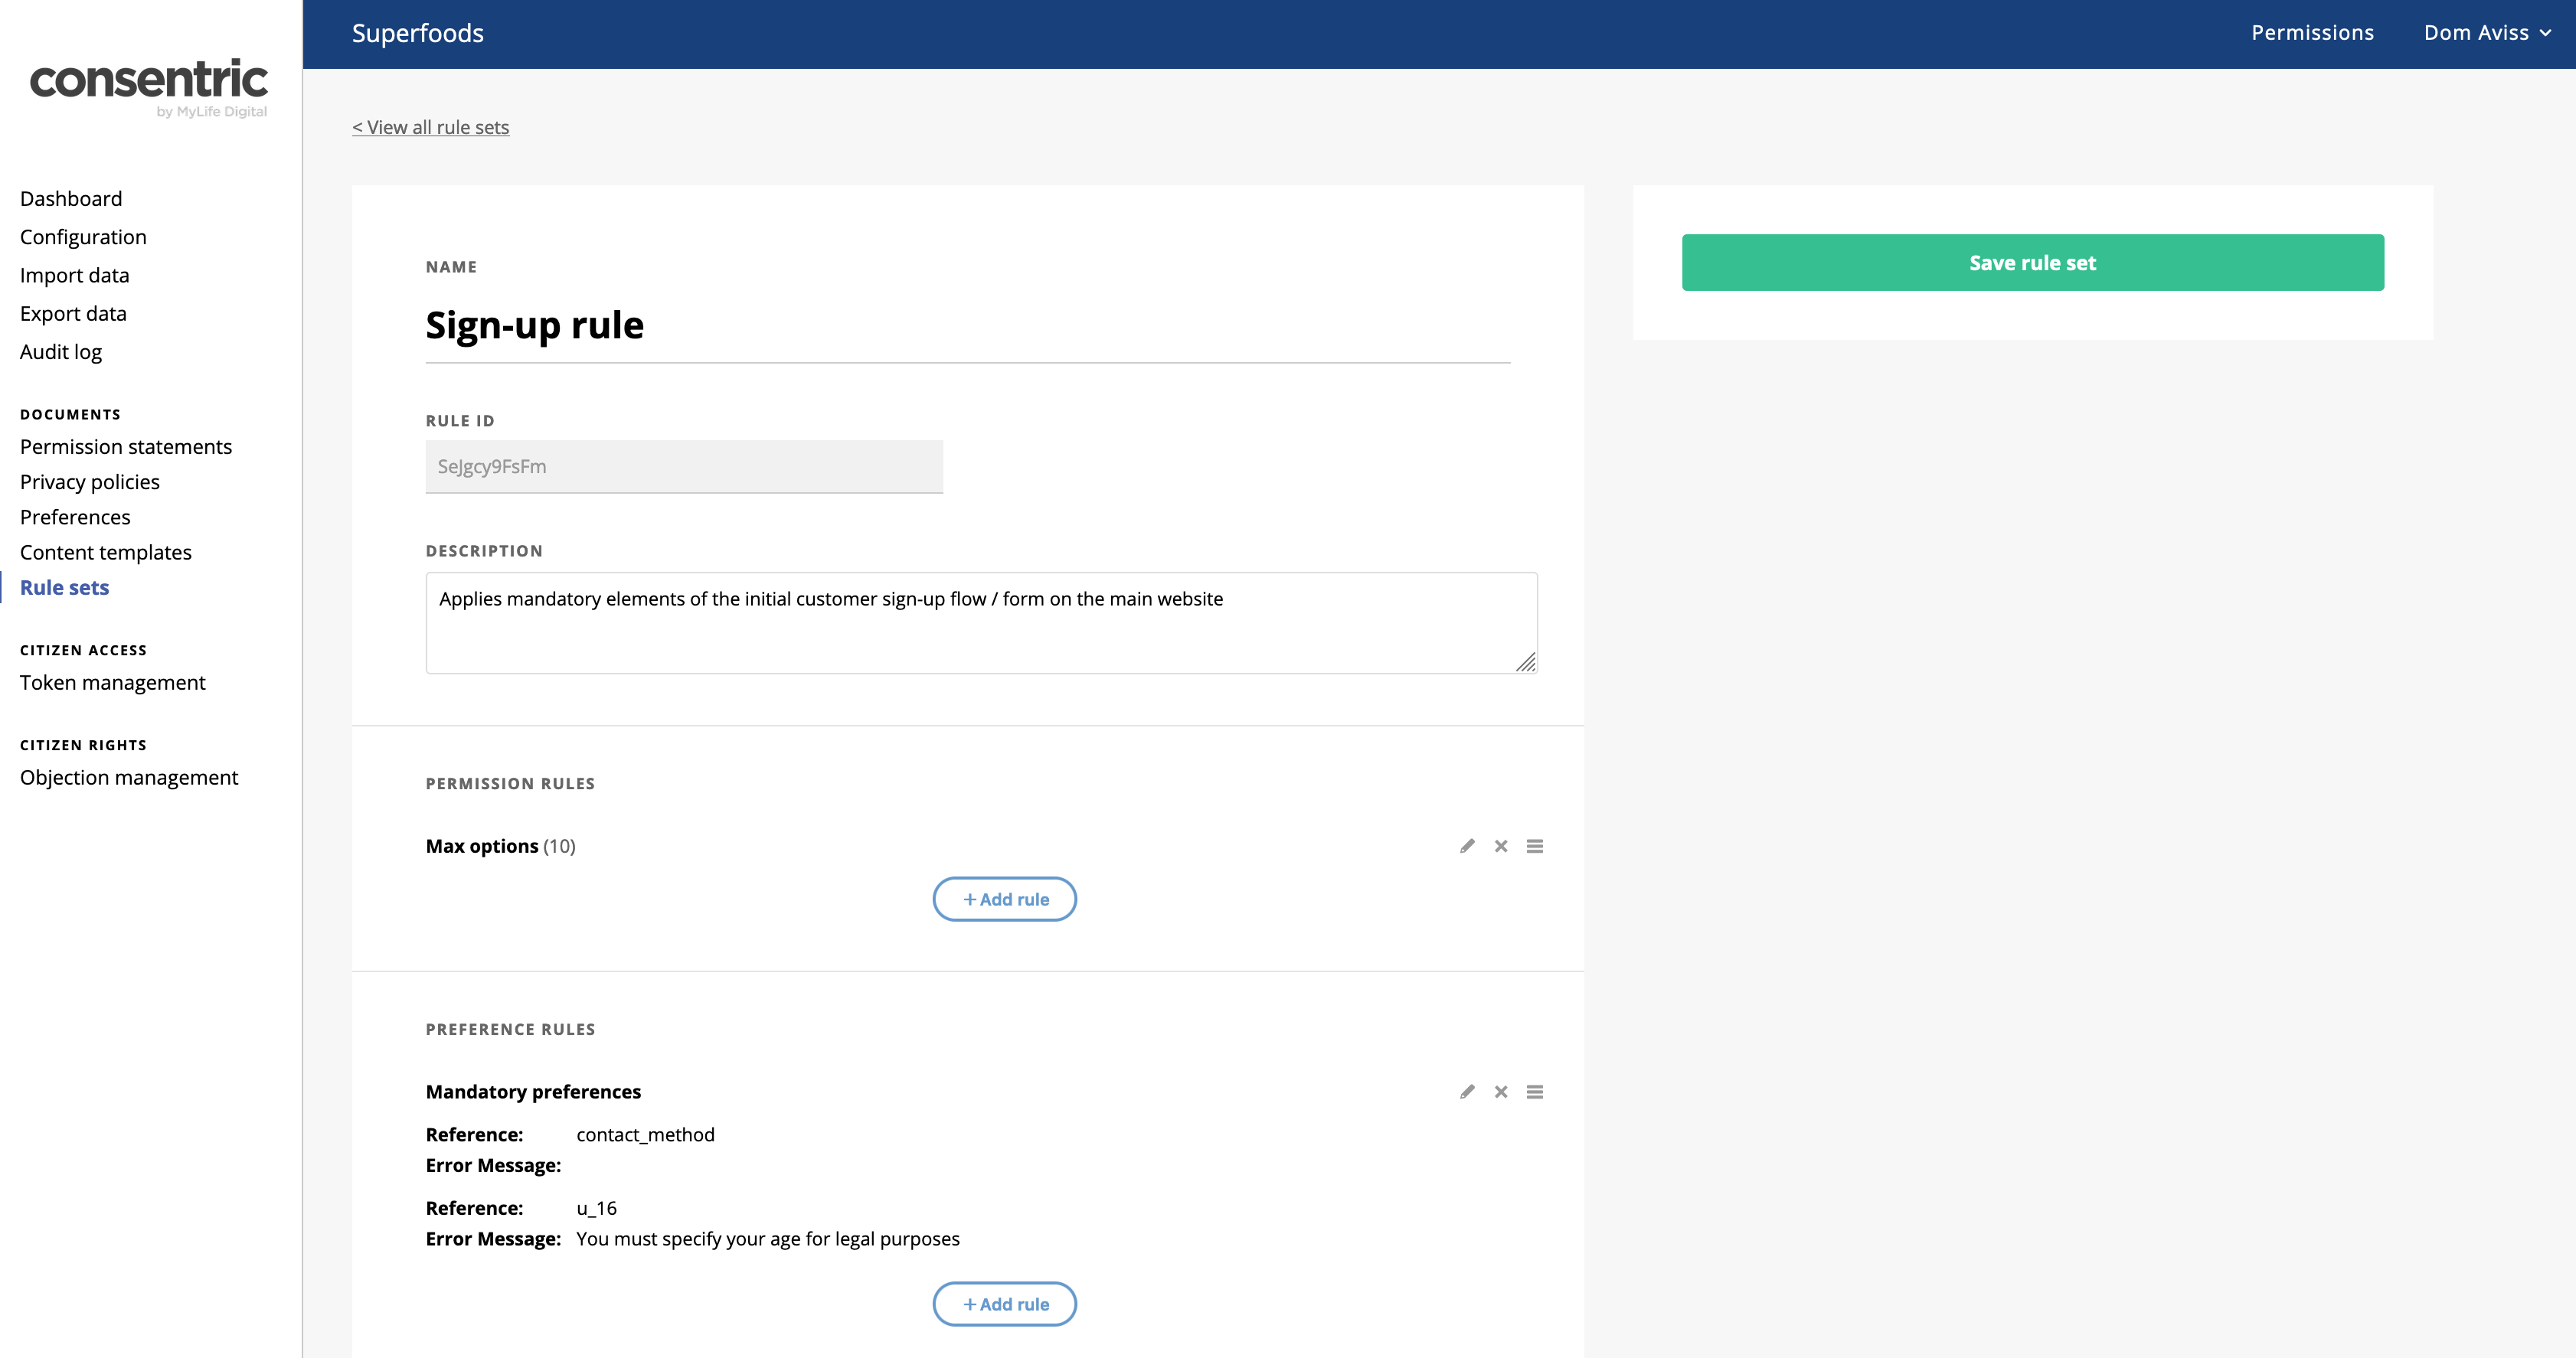
- Add new rules by using the
Add rulebutton for the relevant section - Ensure the blue
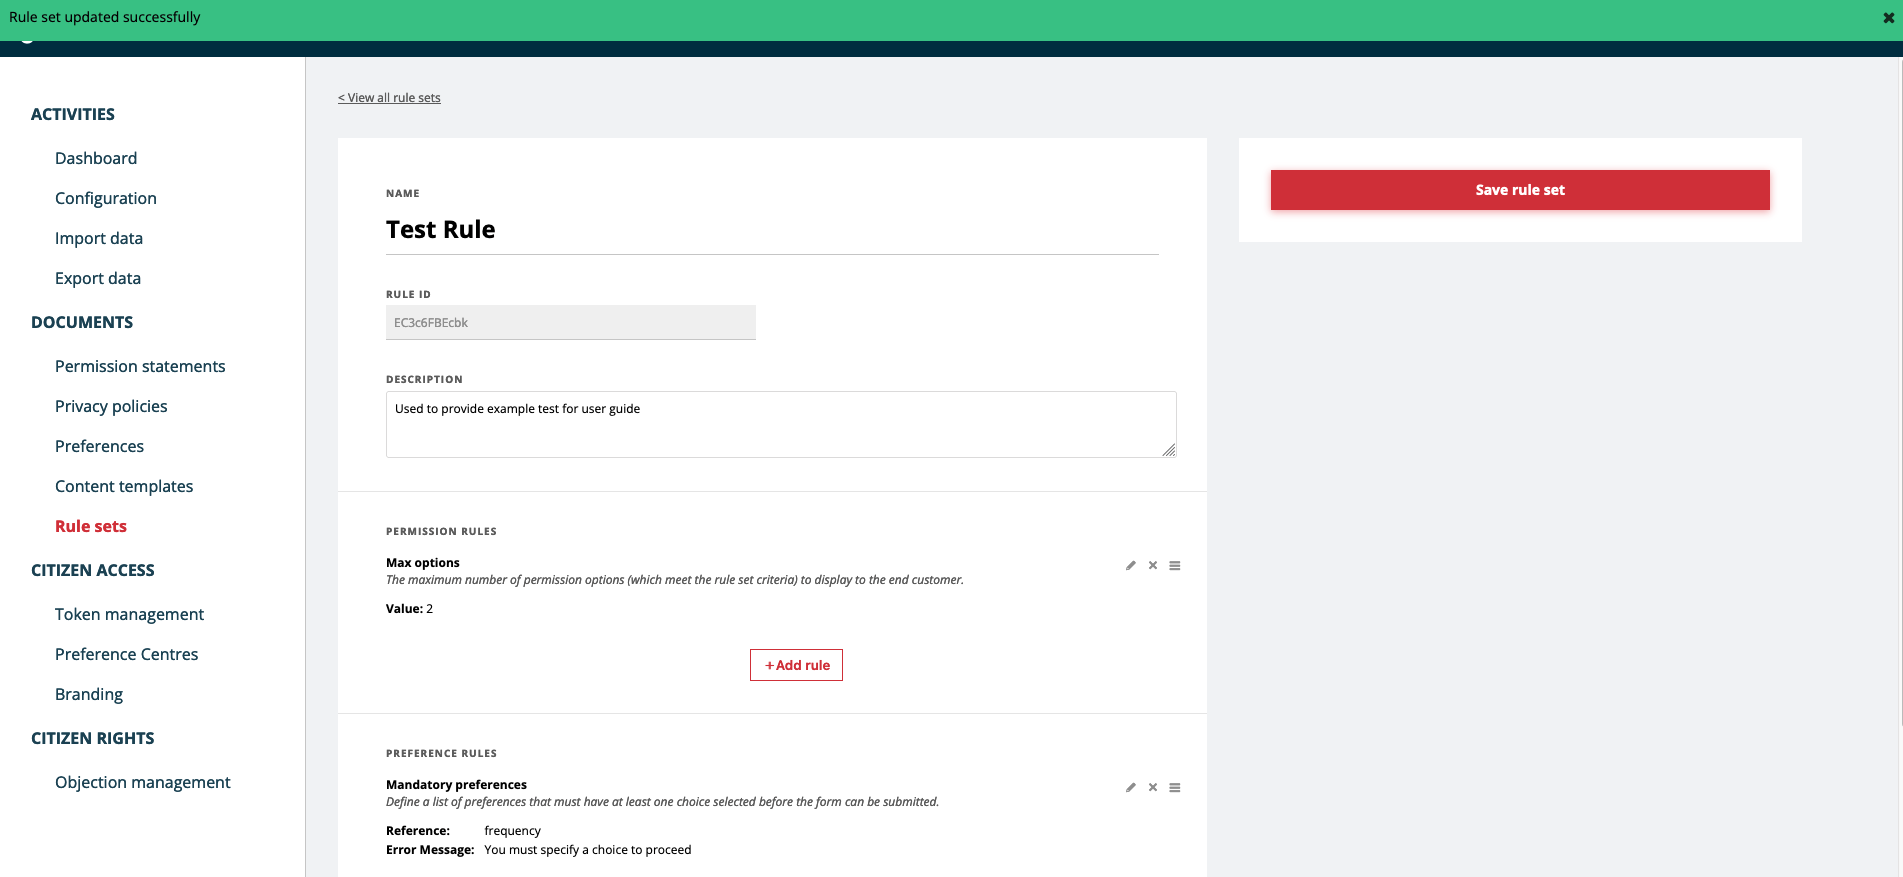
Updatebuttons have been clicked in each section - Click 'Save rule set'
You should be presented with a success message and be remain within the rule being edited.
Updated over 1 year ago
