Preferences Configuration
Introduction to managing Preference Configuration within DataGuard
Preferences configuration allows for further customization of how a citizen's data is processed, offering a finer level of control. While preferences are not explicitly governed by GDPR, they provide the opportunity to customise the processing of citizens' data in a more granular manner.
The preferences configuration API is available here.
How to create a preference
-
Login to the DataGuard consent & preference management platform
-
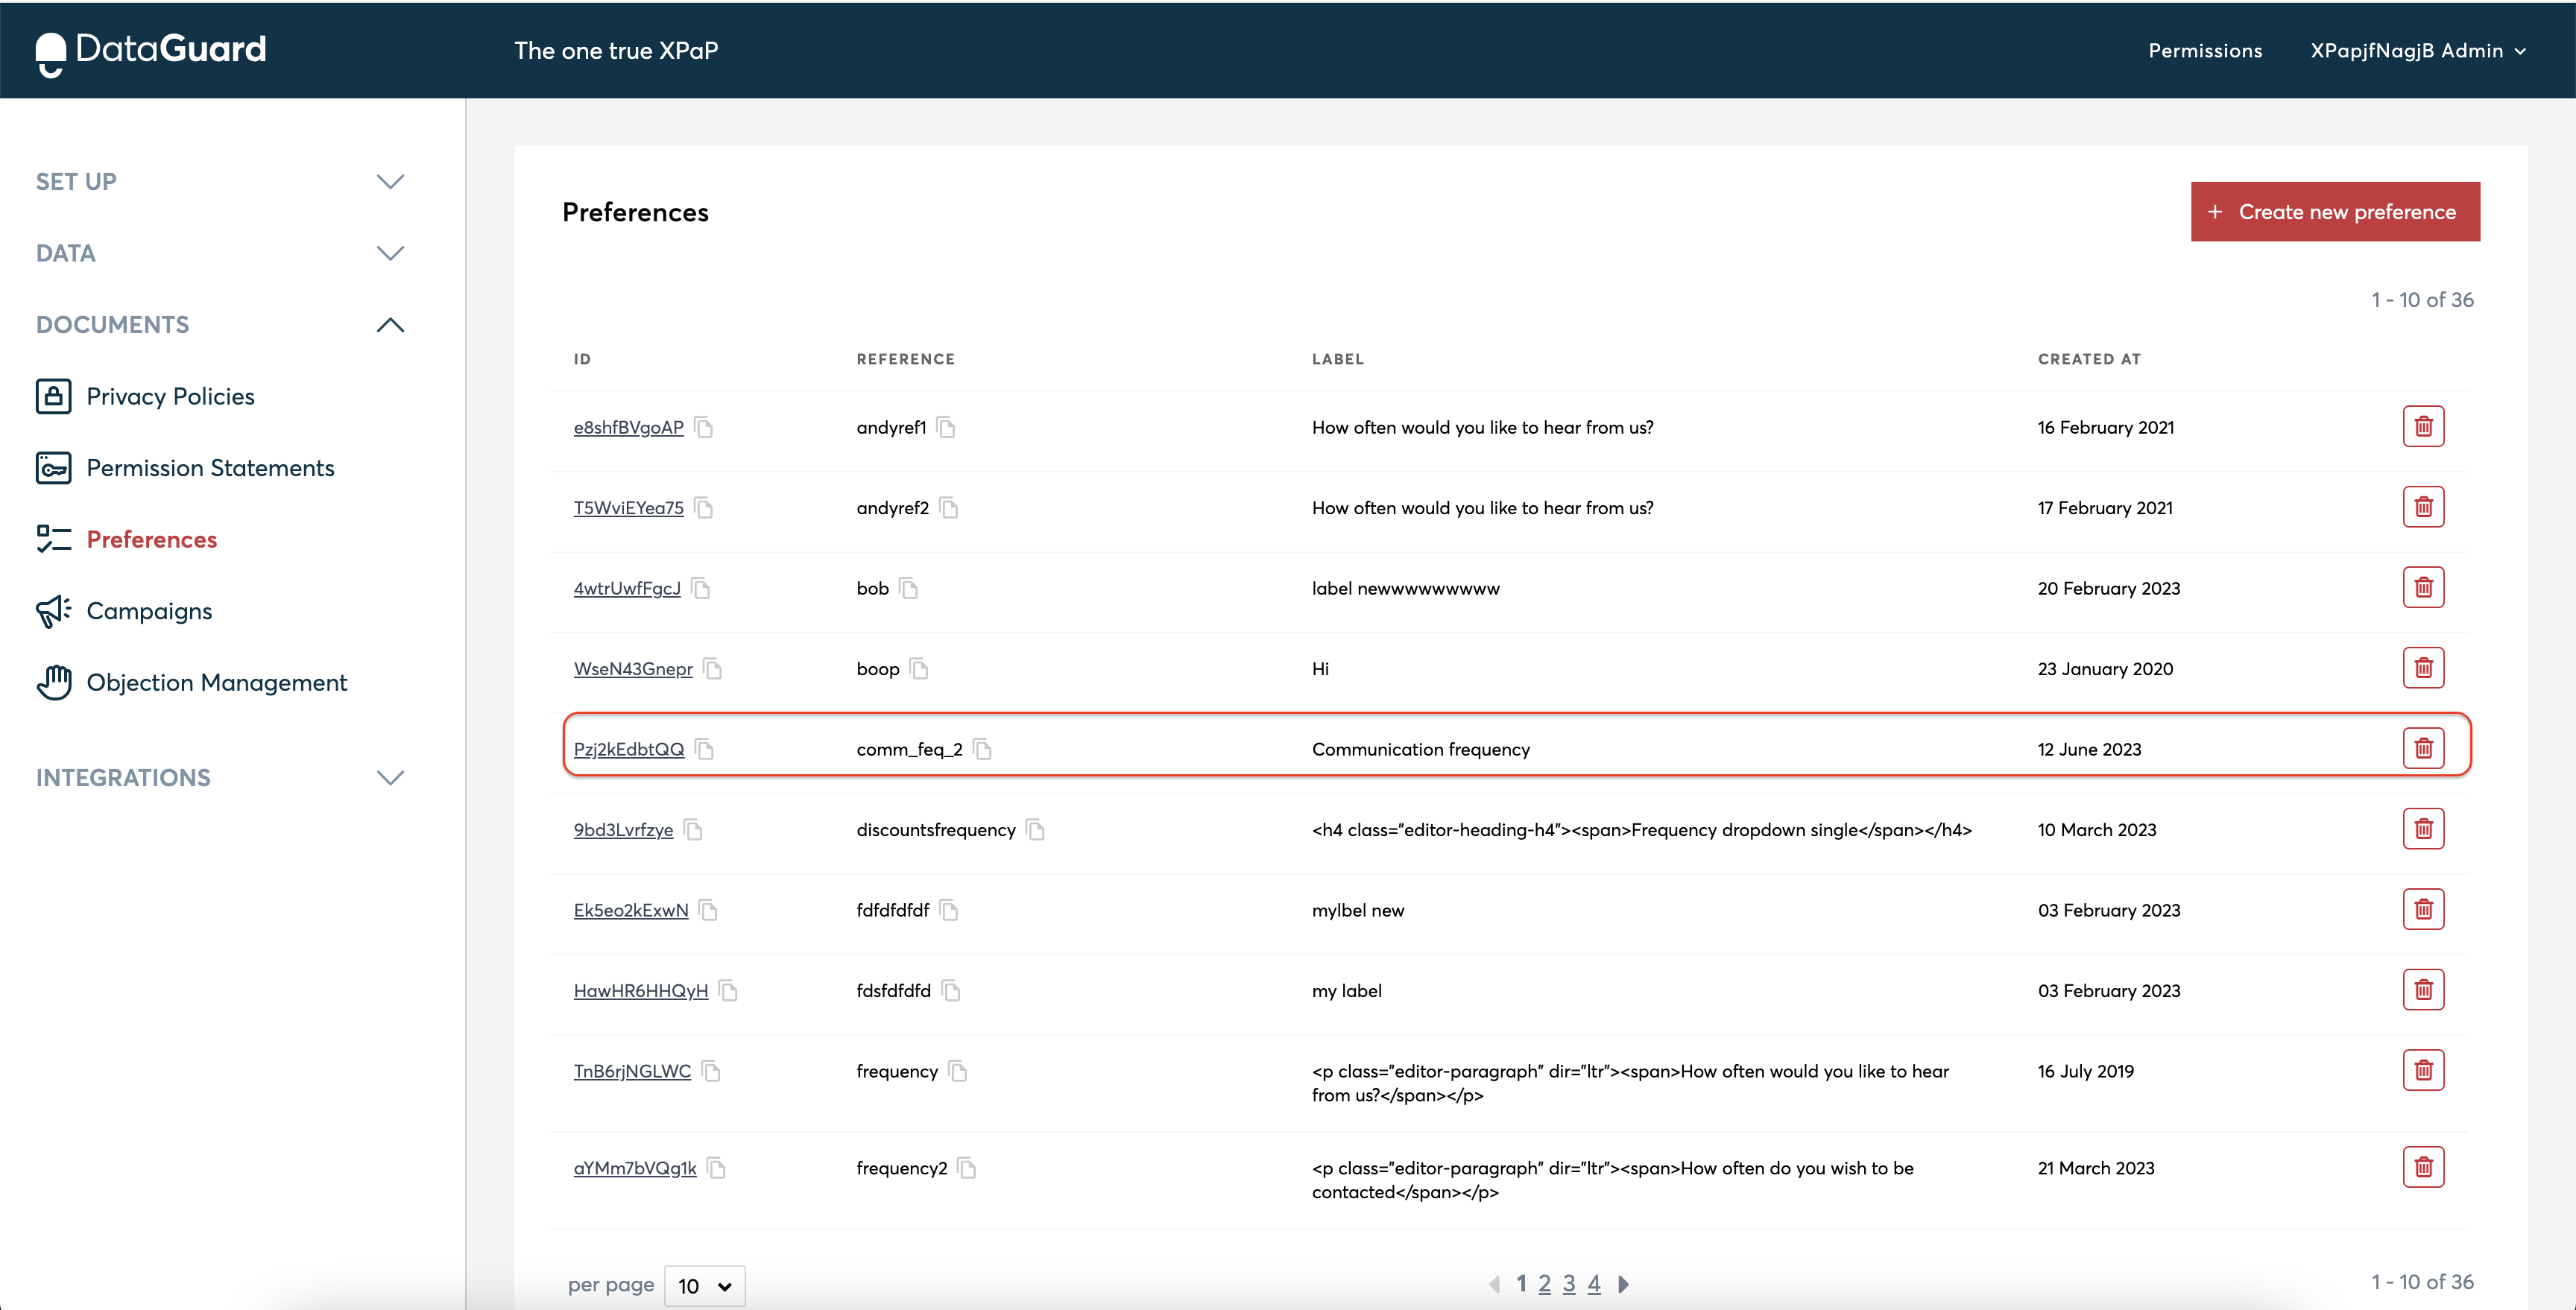
Navigate to admin -> Preferences under the "Documents" Section. The page contains the list of existing preference configurations. These are arranged in a list containing the ID, reference, label, and created date associated with each item. The list is ordered by reference.
-
The ID and the Reference fields have buttons for copying directly to the clipboard to assist with interaction with the system elsewhere.

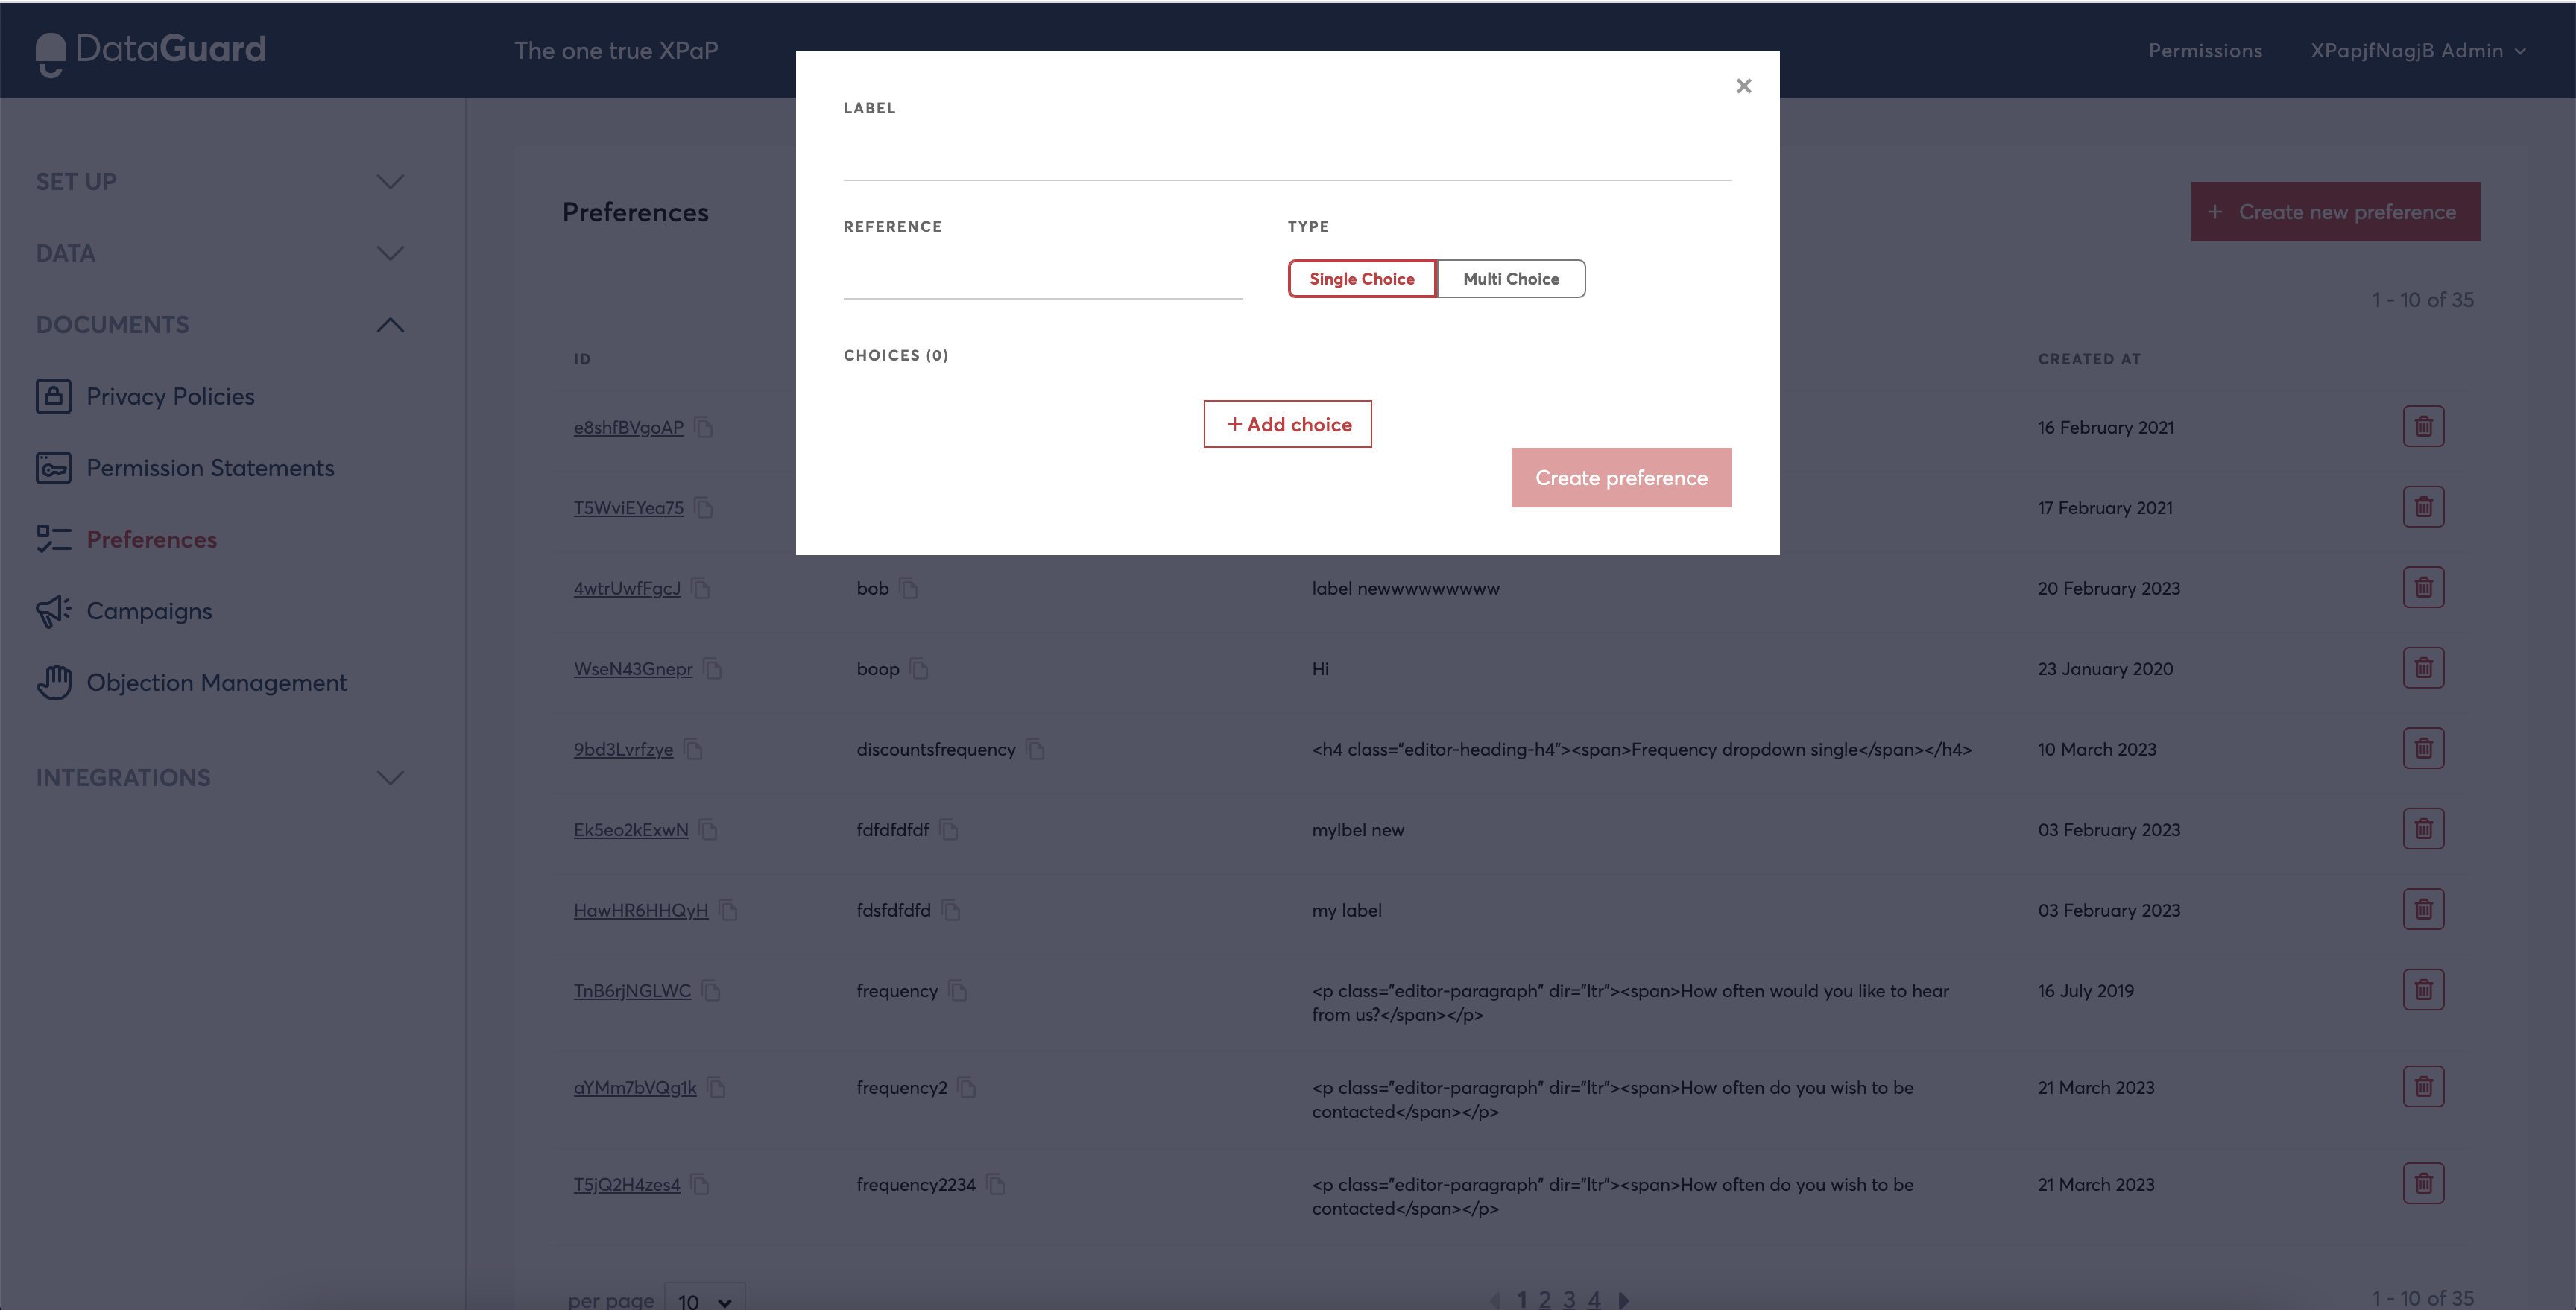
- Click the "Create new preference" button on the upper right-hand corner of the screen. This opens a popup where you can fill in the details. The 'Create Preference' button is inactive until the user has populated at least the Label and Reference fields and created a single Choice, as shown below.
Other ways to create preferences
This is not the only UI using which you can add preferences. You can also create new preferences when you are building your content templates.
- Fill in the details required for the preference configuration
-
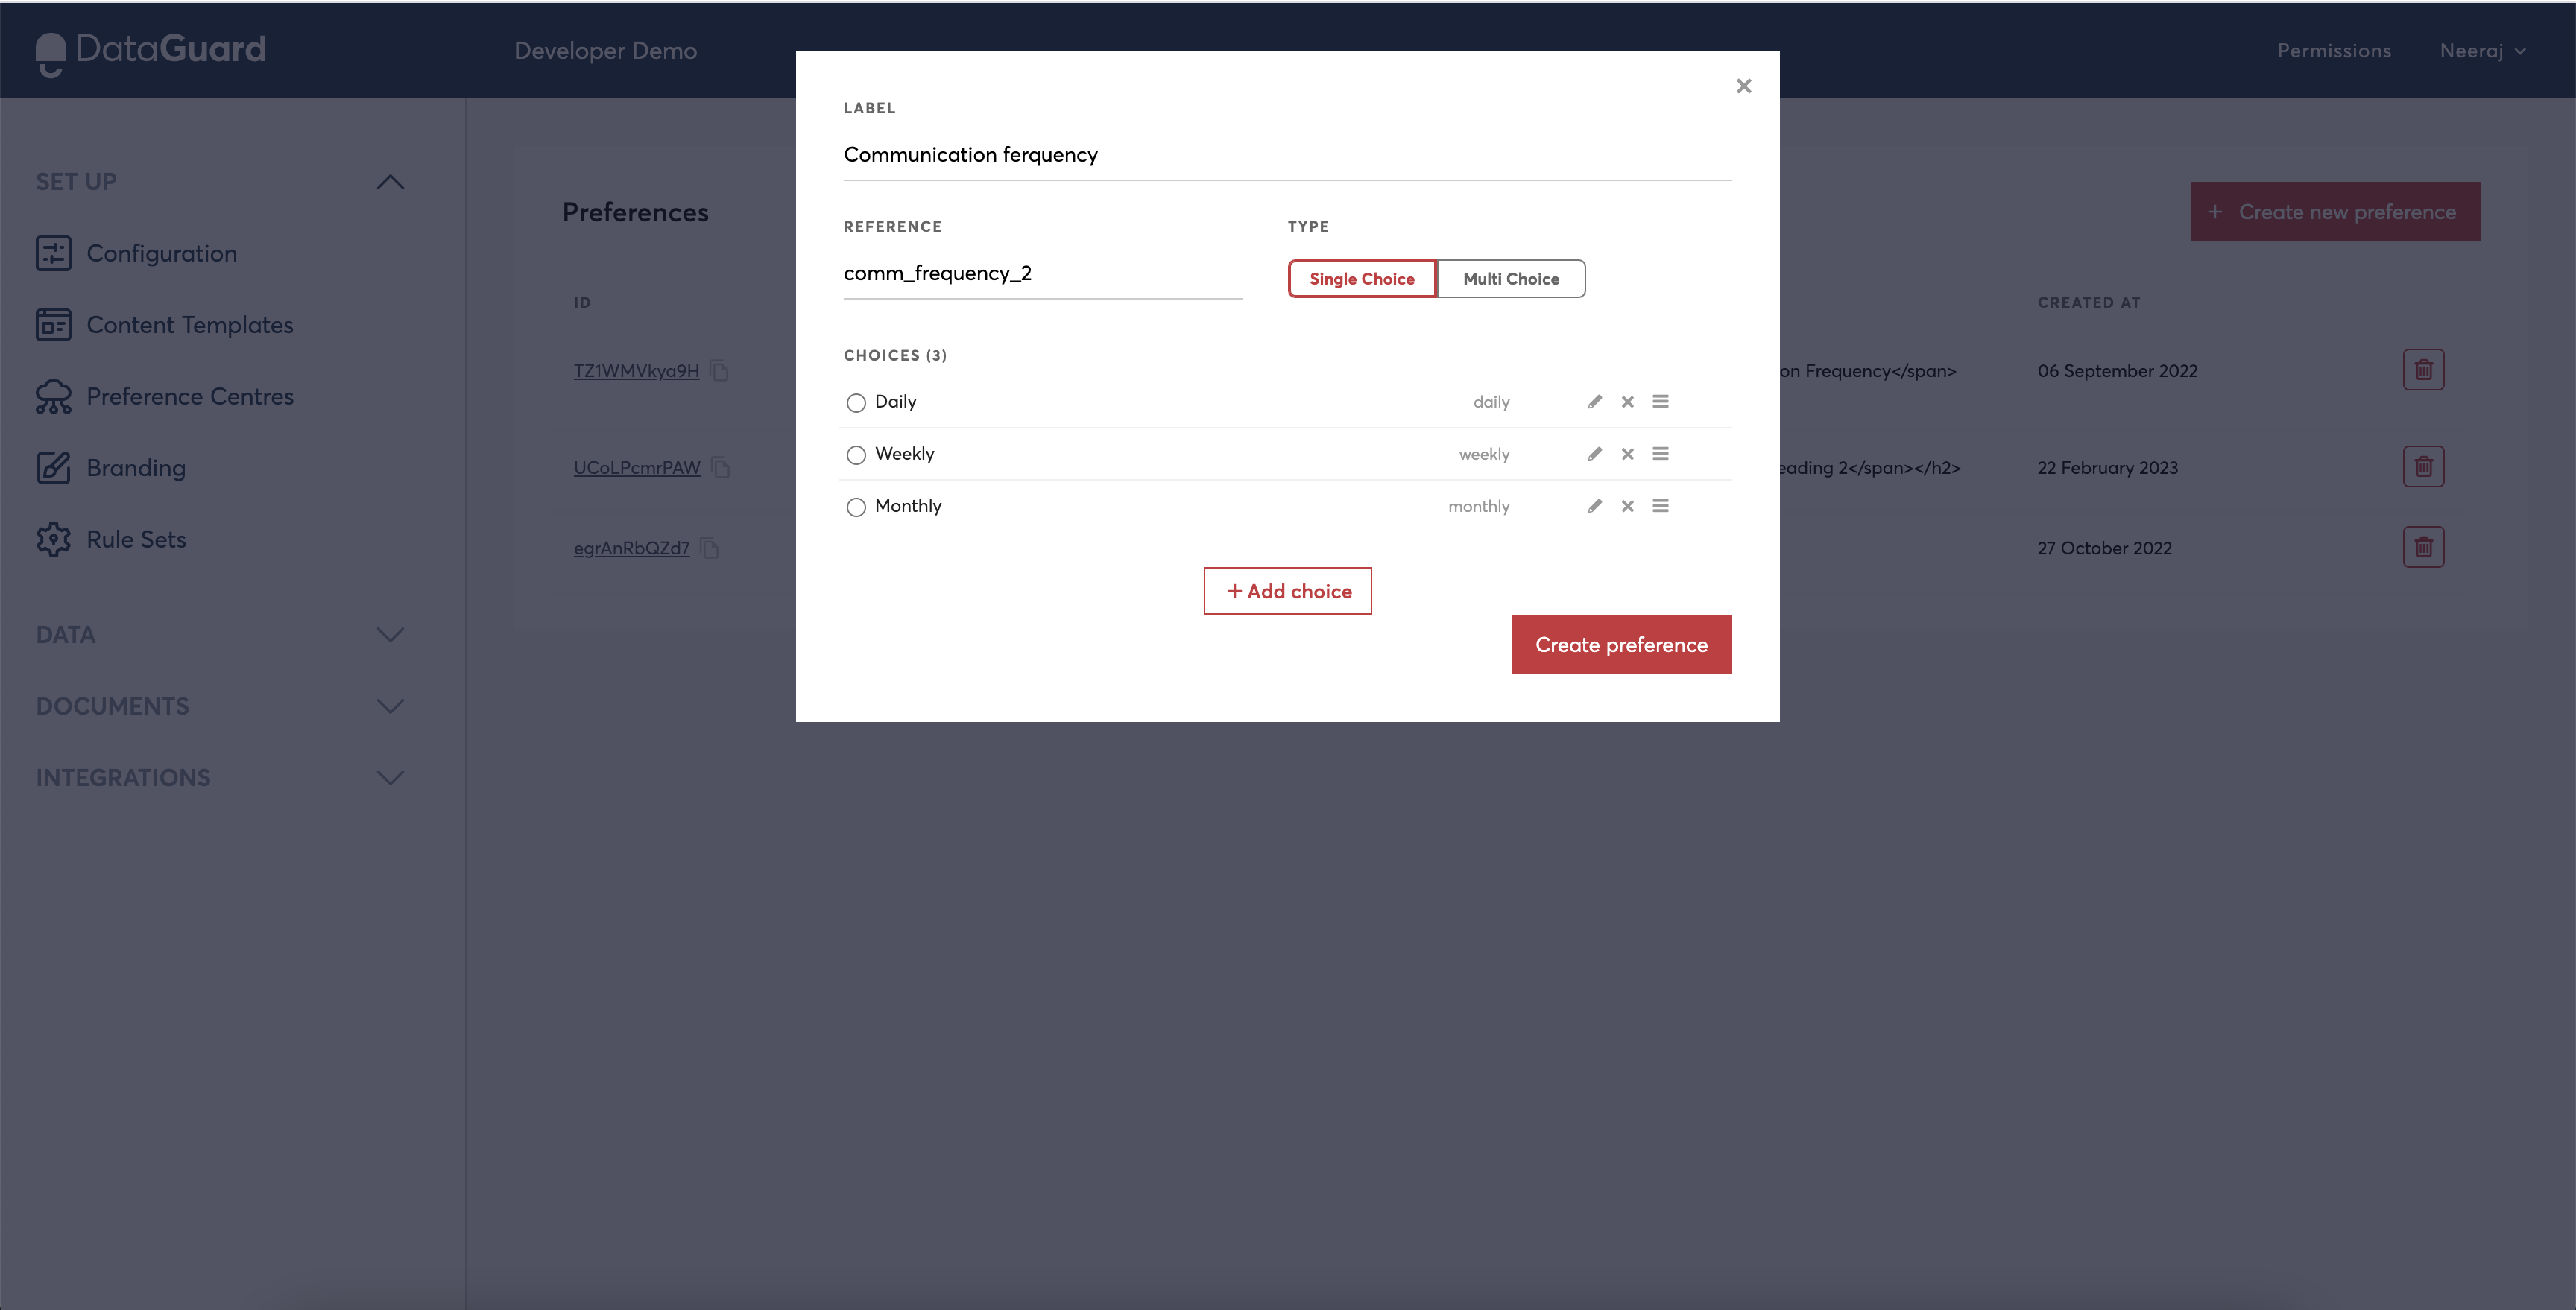
Add a label – this is what the user/customer will see in the capture point / the content template (e.g. "Which topics are you interested in?")
-
Add a reference. This must be unique within the application, and you will get an error if you try to submit a duplicate.
-
Select a Type from "Single Choice" (only one option can be chosen by the user) or "Multi Choice" (one or more options can be chosen by the user). Single choice types are rendered as radio buttons in the DataGuard capture point default styling (editable), and multiple choices are shown as checkboxes.
-
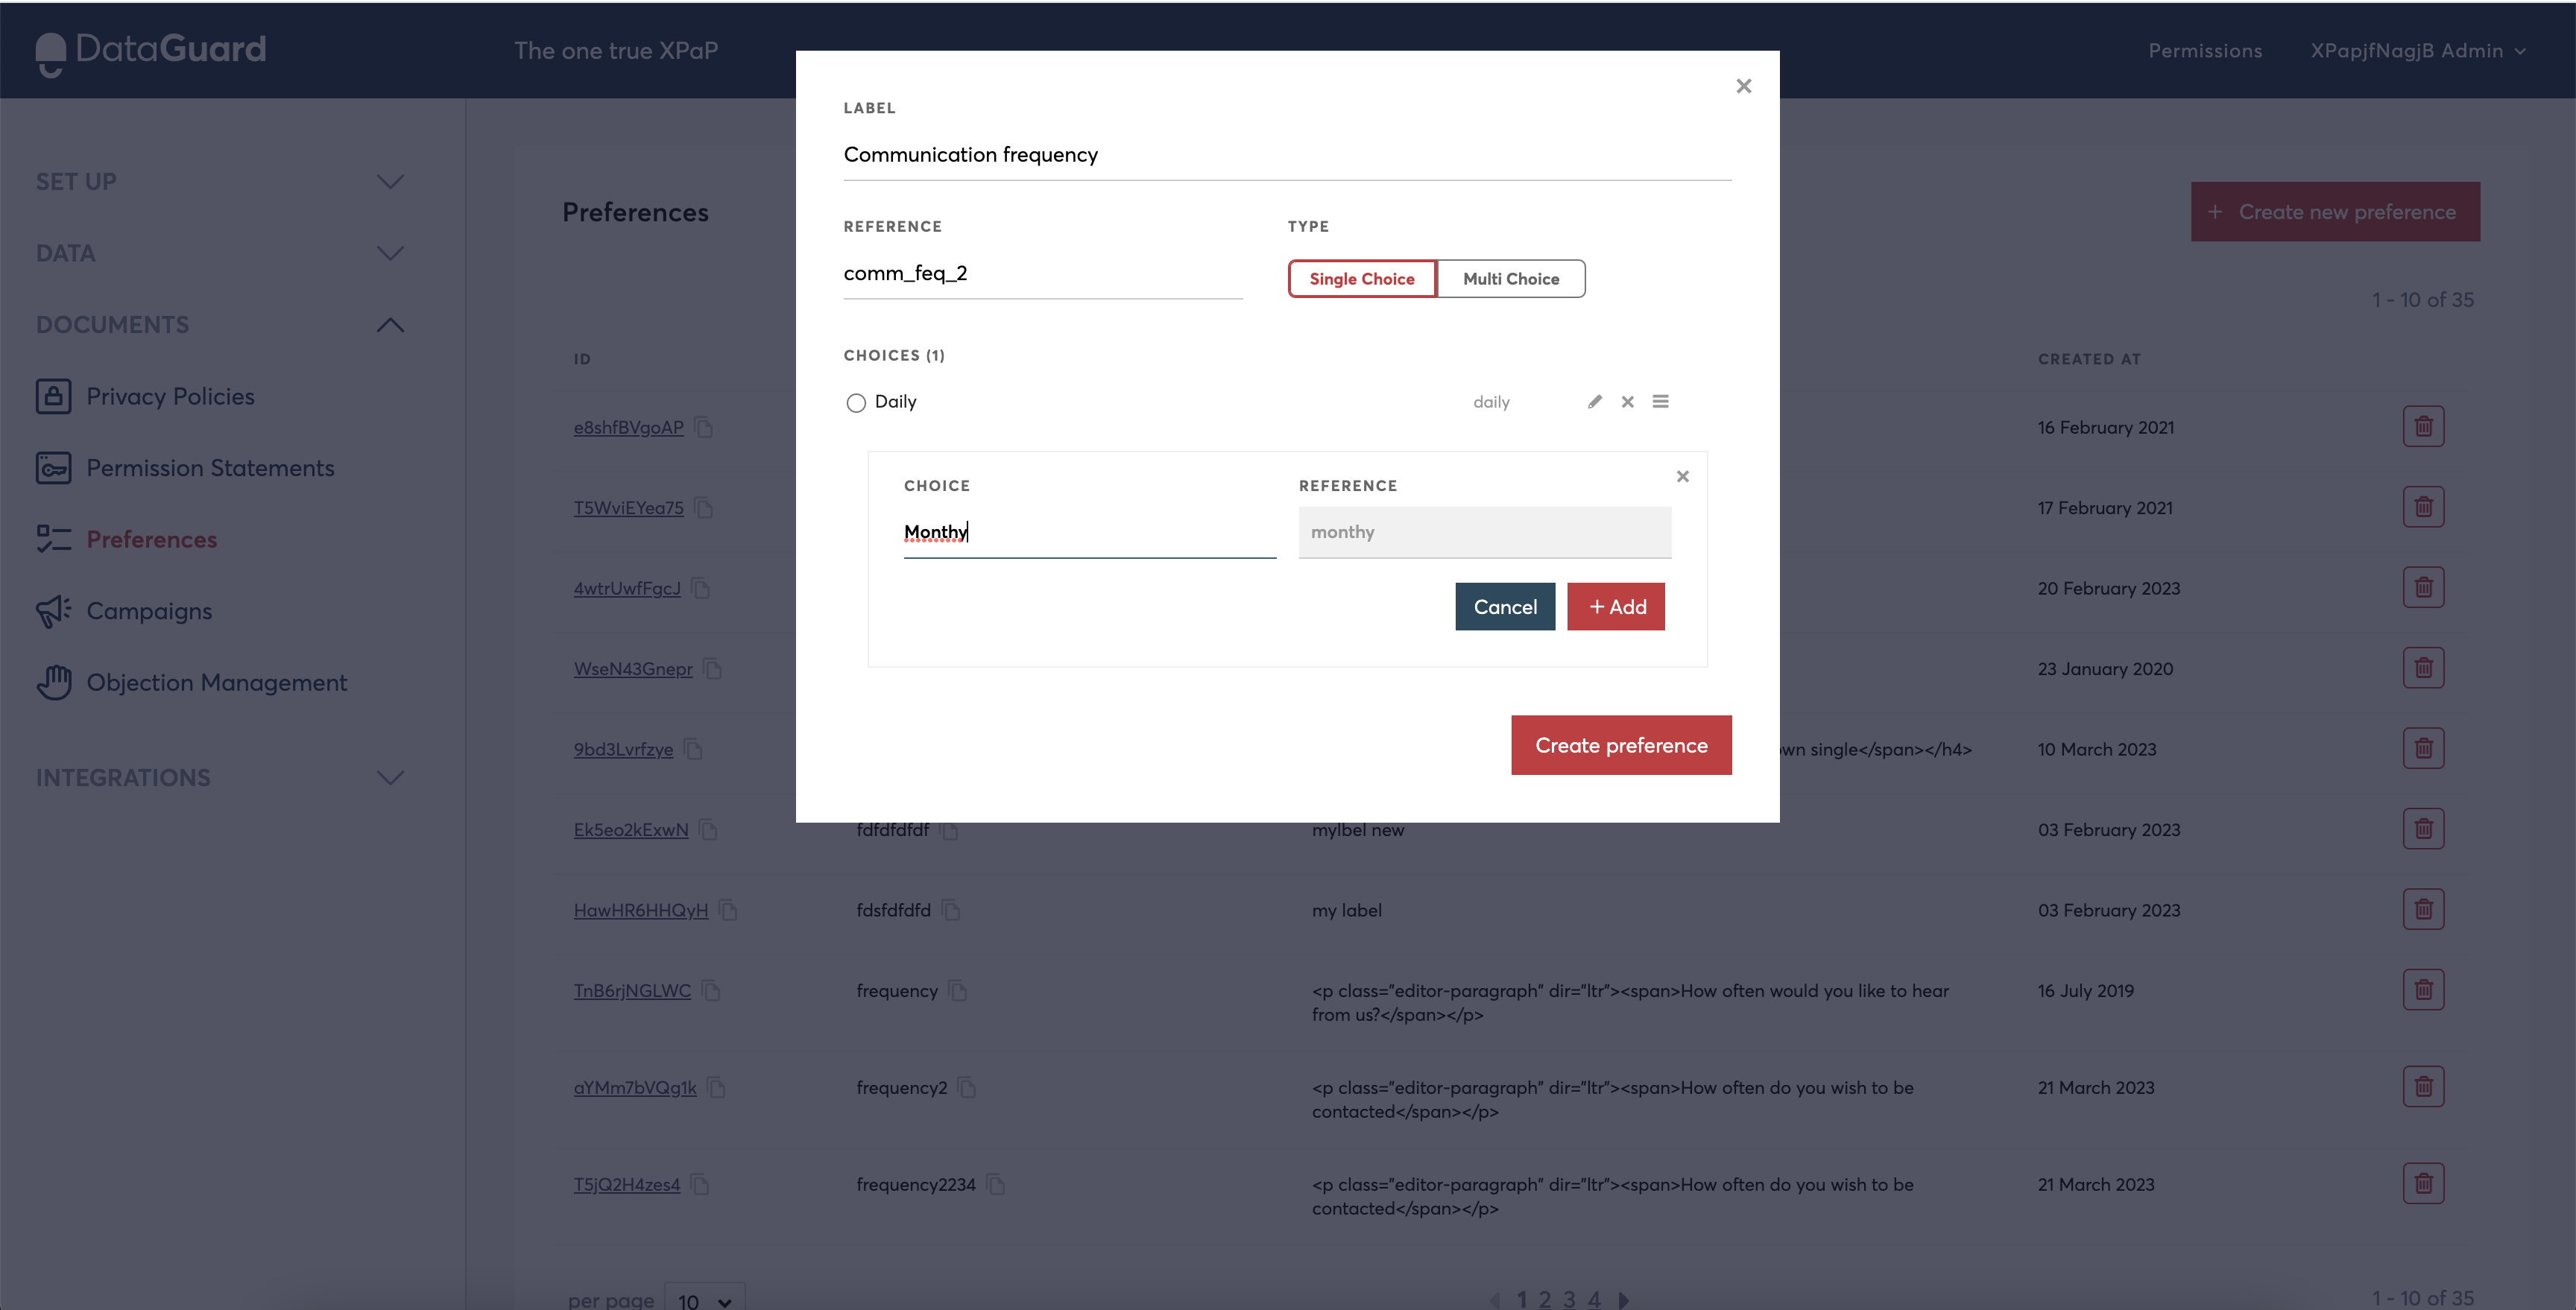
Enter the choices that you want the user to see in the list. These are added individually. The reference will be automatically populated.
- Click on the "Create preference" button: On successful submission, the preference is created and you are navigated to the main screen where the preferences list has been updated to reflect the new item.
Editing a preference
To modify an existing preference, simply click on the ID associated with that preference in the list.
Changes reflect in content templates
Please note that any modifications made to the preferences through this UI, will also be reflected in the associated content templates. Changes made to the preferences are seamlessly updated in real time, ensuring that the content templates accurately reflect the updated preferences.

By doing so, a popup window will open, allowing you to edit the values of the preference.
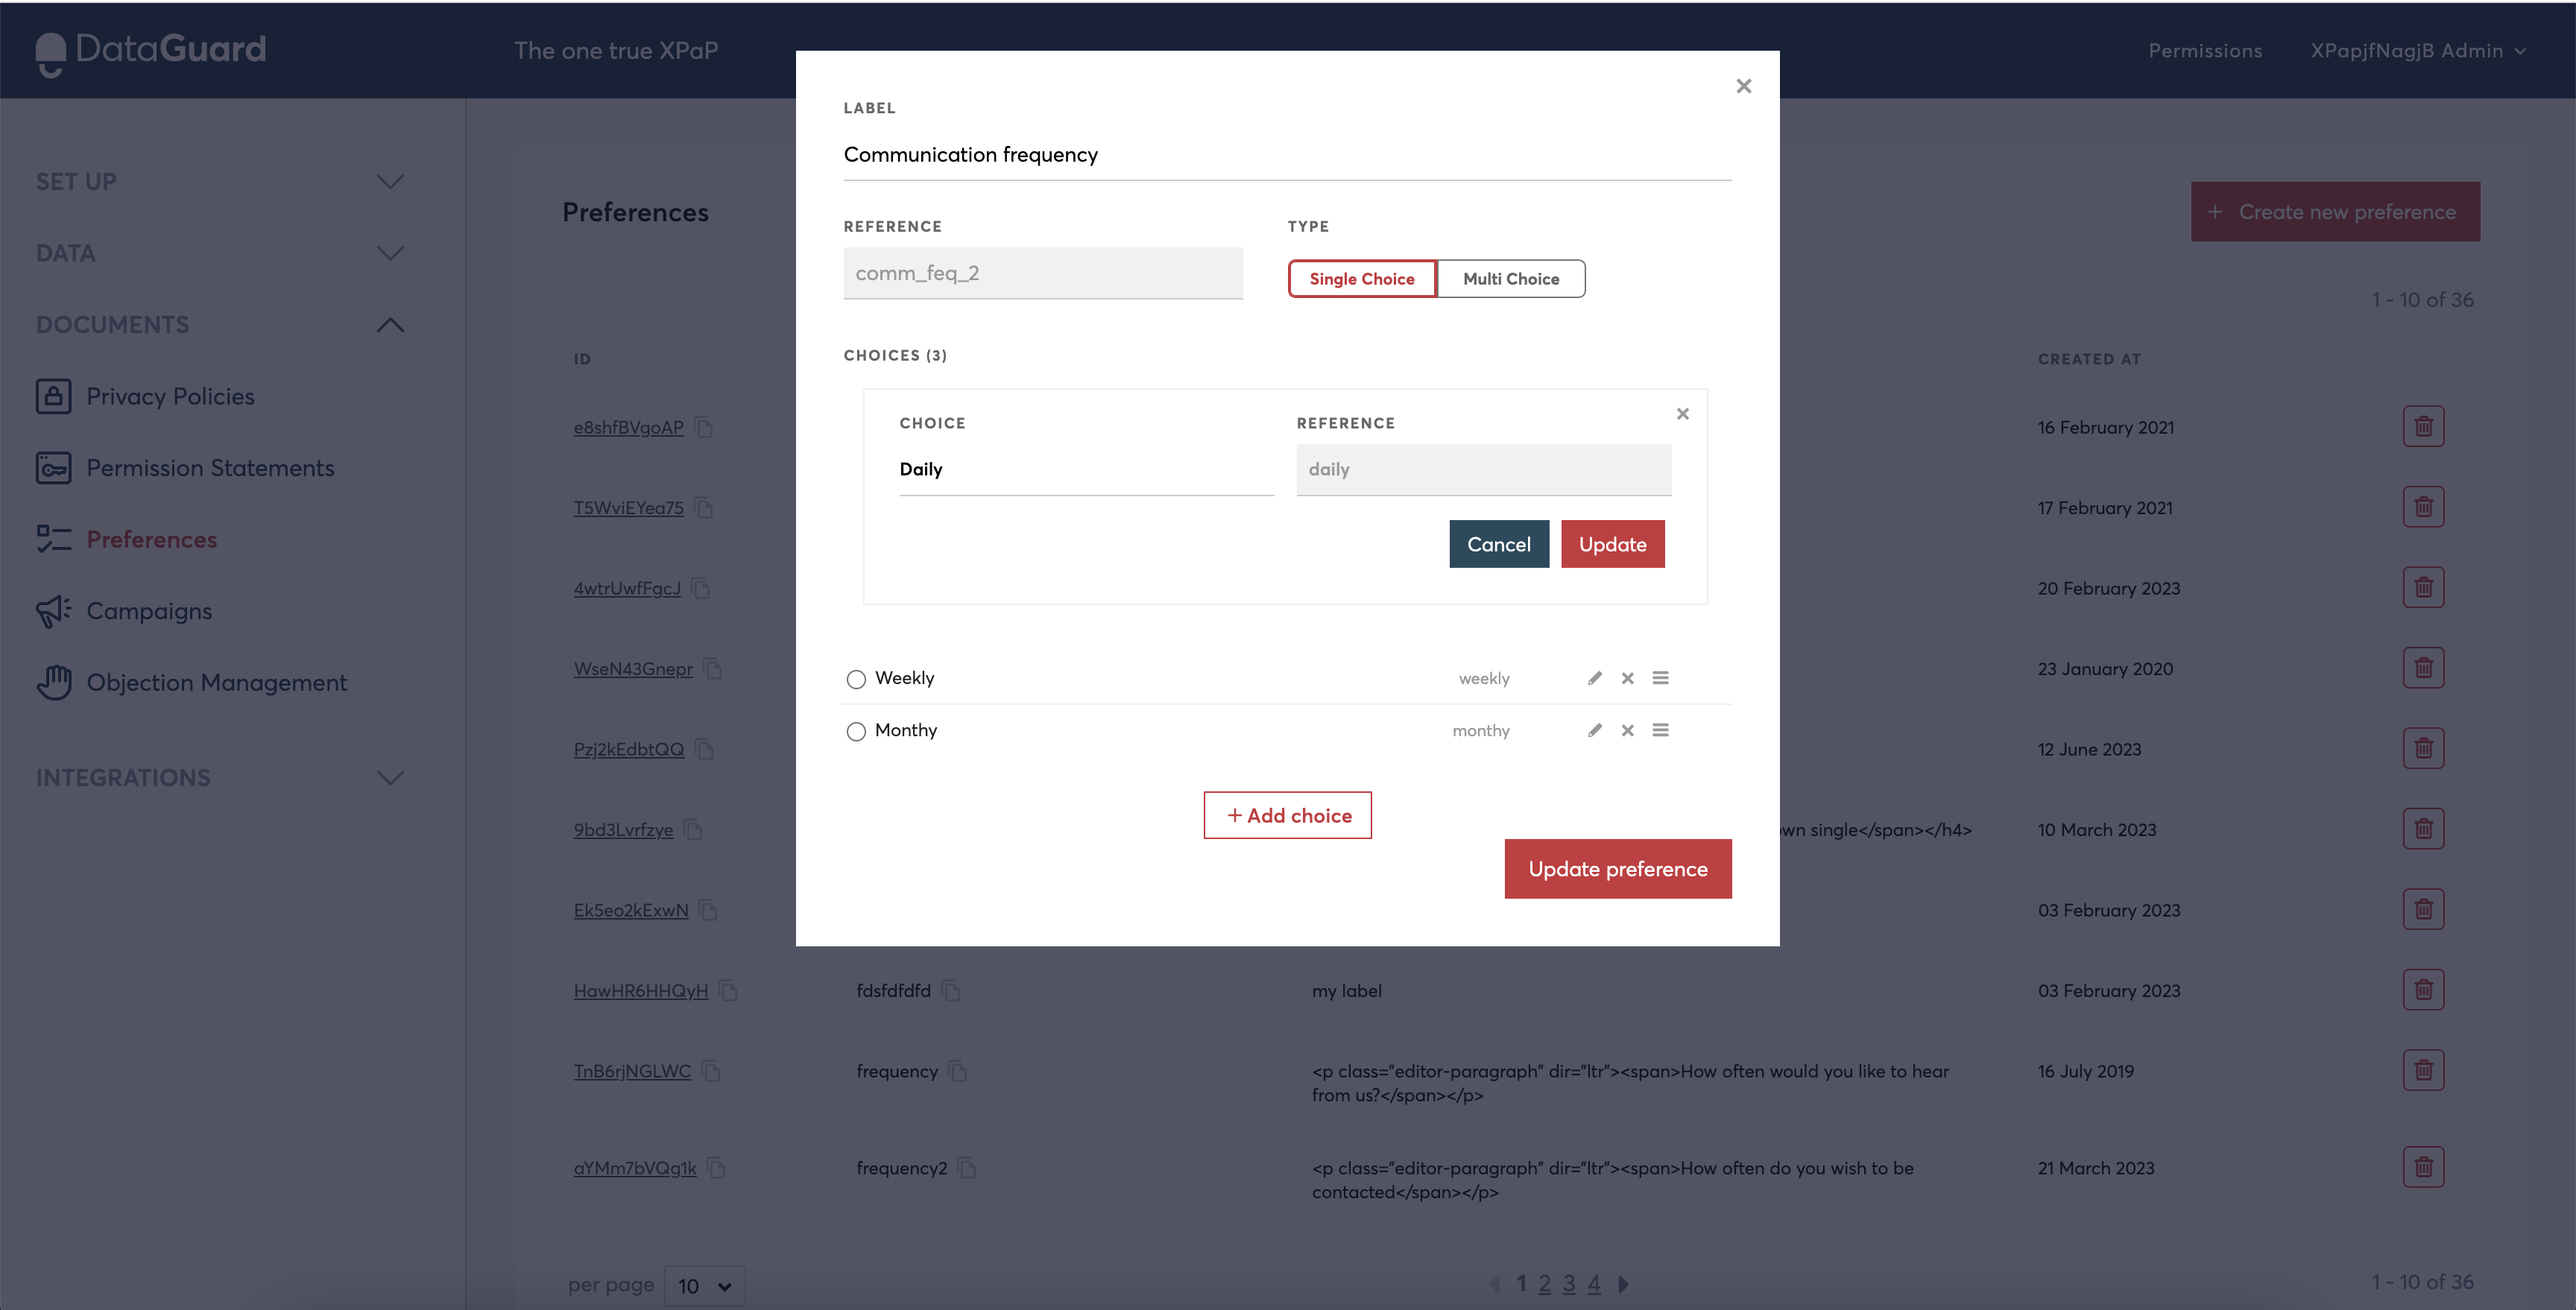
After making any desired modifications, you can click the 'Update Preference' button to submit the changes. Upon submission, the system will process the updated preference and return you to the list view, where you can see all the changes reflected.
References can be edited only via API
Currently the reference used for a preference can not be edited via the UI once it has been saved. If you wish to amend a reference you will need to update it via the API, or create a new preference.
Restrictions on actions
Thereare restrictions on particular actions related to Capture Templates and Capture Points (e.g. you can’t disable elements that are used in a Capture Template). If you experience issues these will need to be manually corrected through the UI.
Updated 11 months ago